Subjects
The Subject Module is designed to streamline the management of subjects, enabling users to create, view, edit, delete, search, and sort subjects efficiently.
How to Use the Subject Module
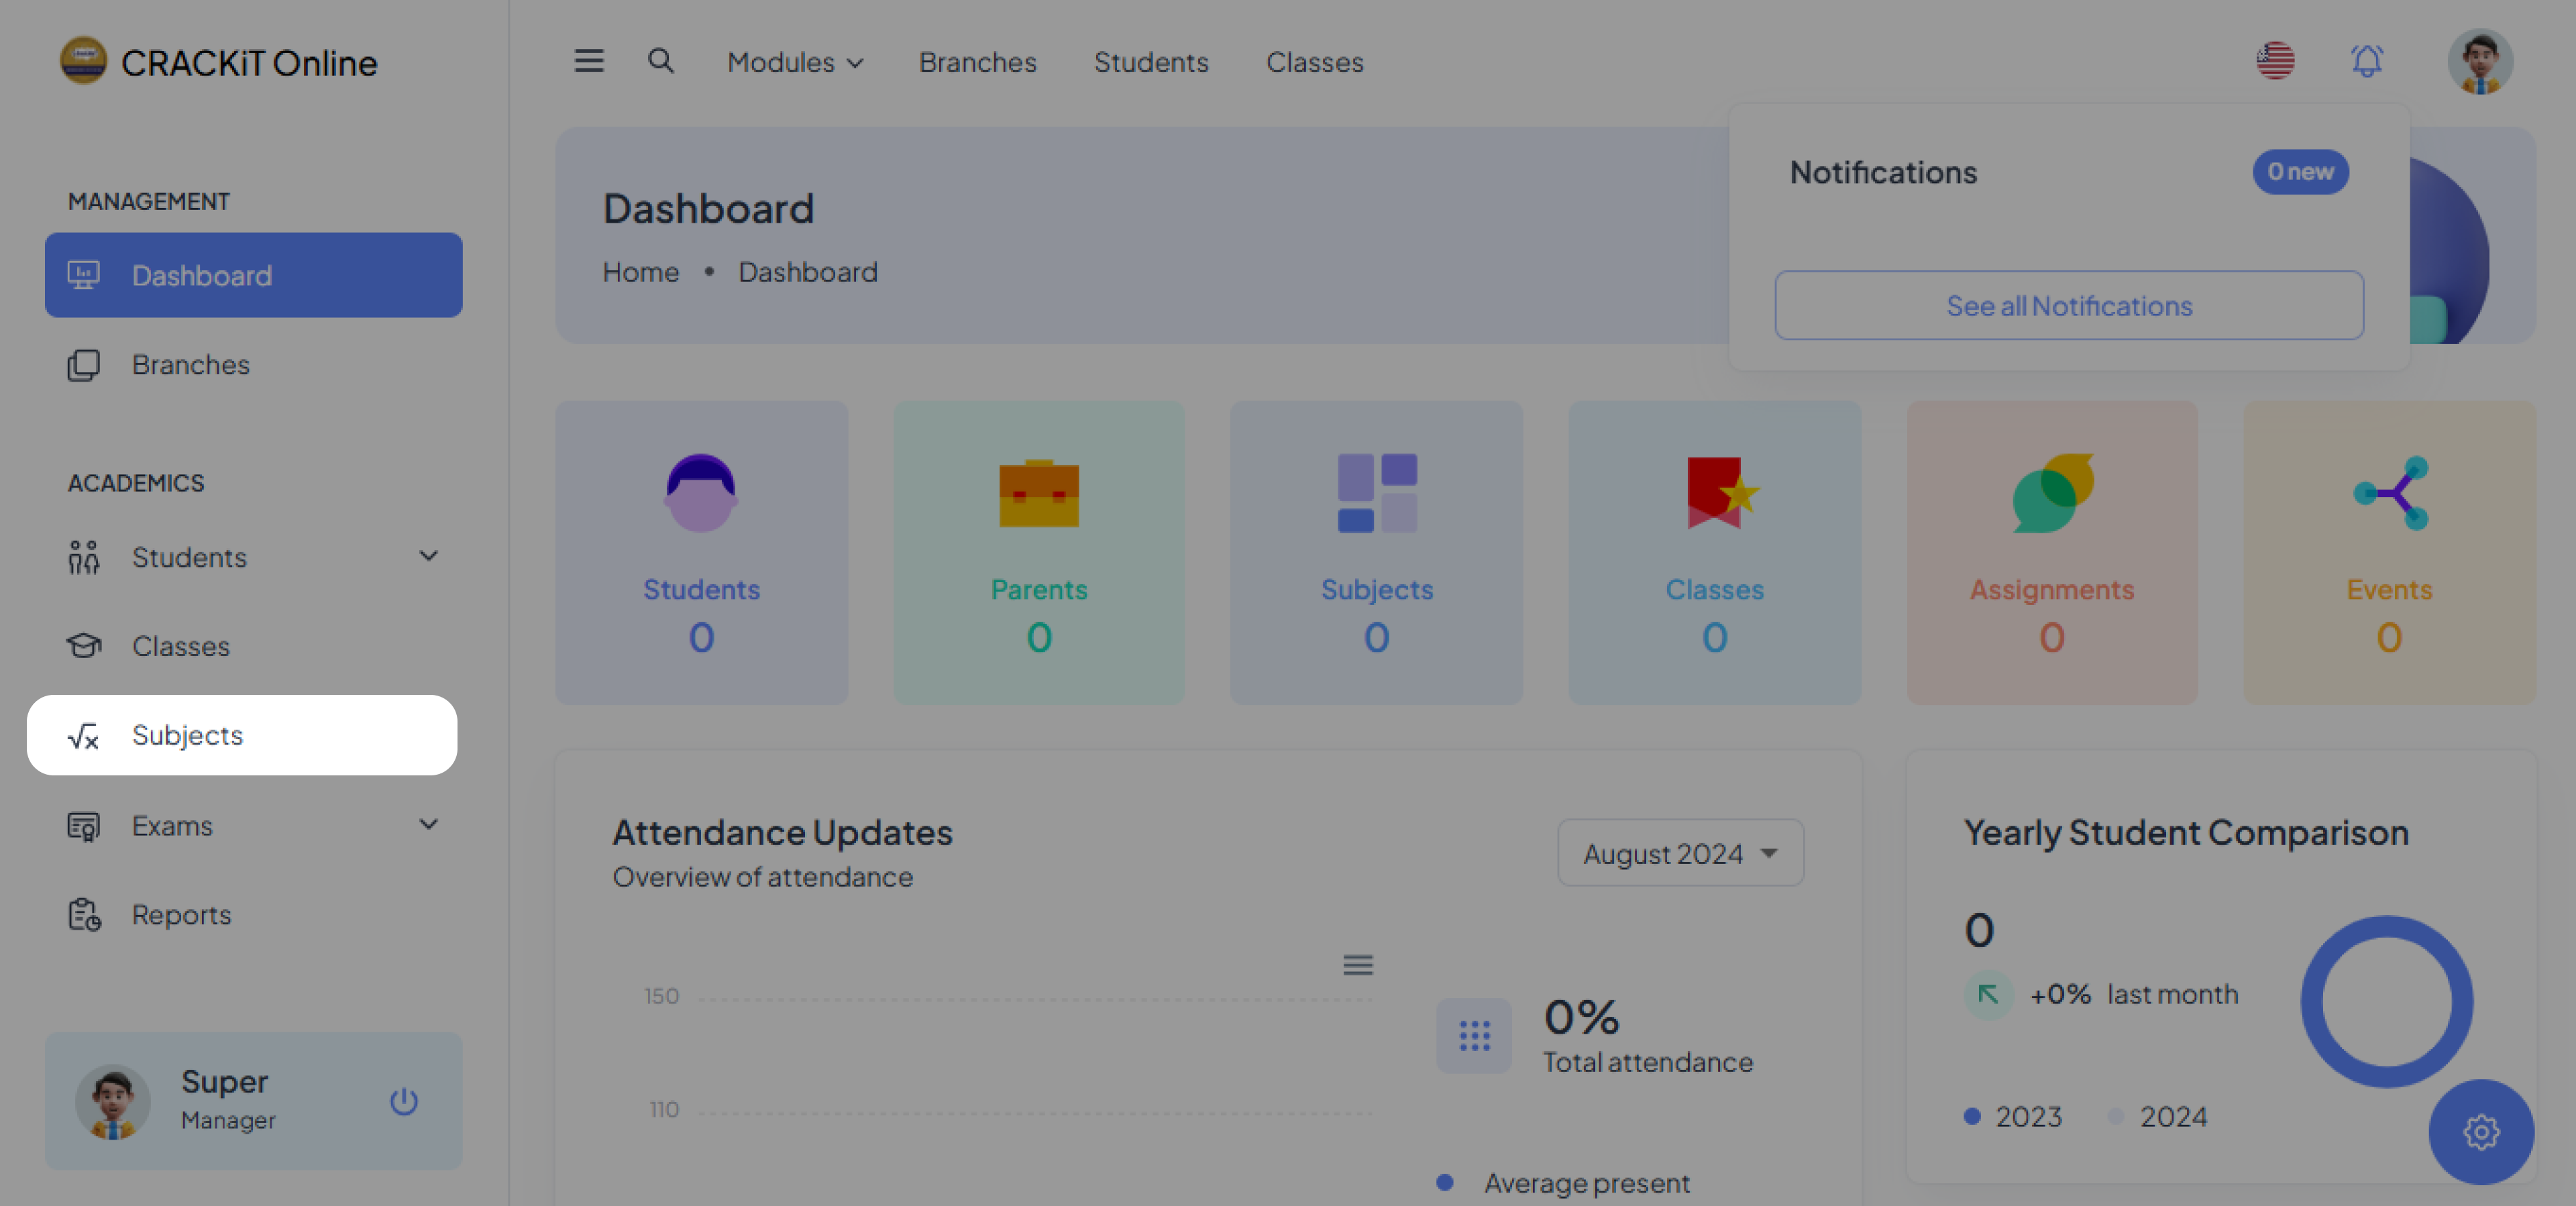
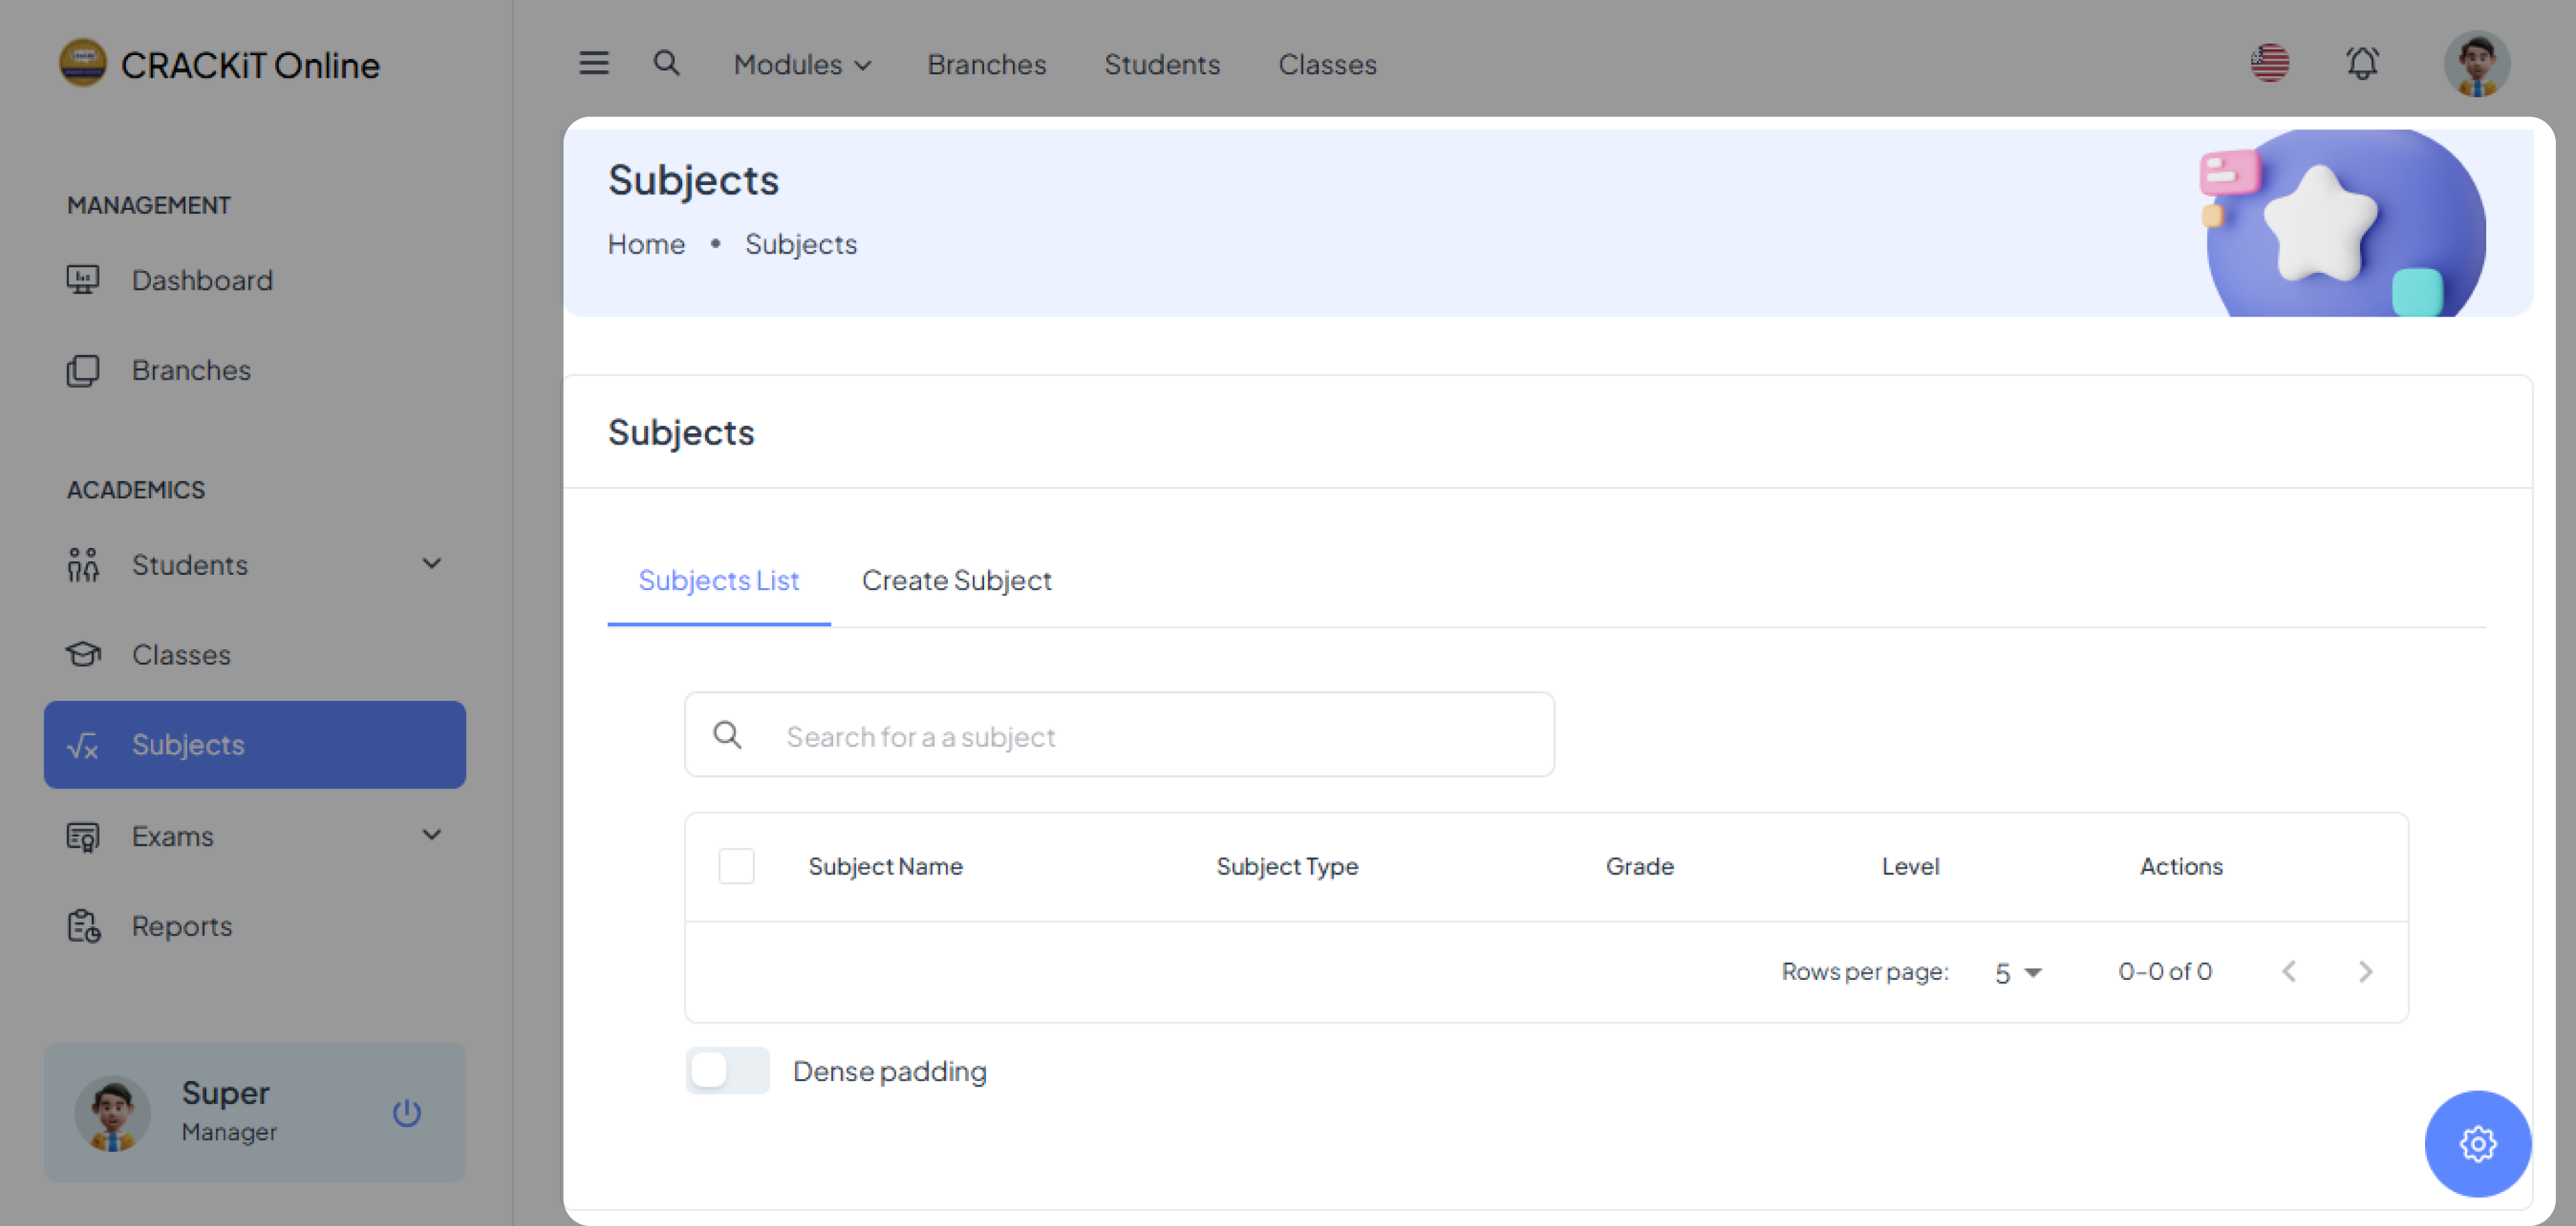
Accessing the Subjects Module
To access the Subjects Module, the user must click on Subjects in the side navigation menu. This action opens the Subjects page, as shown below.
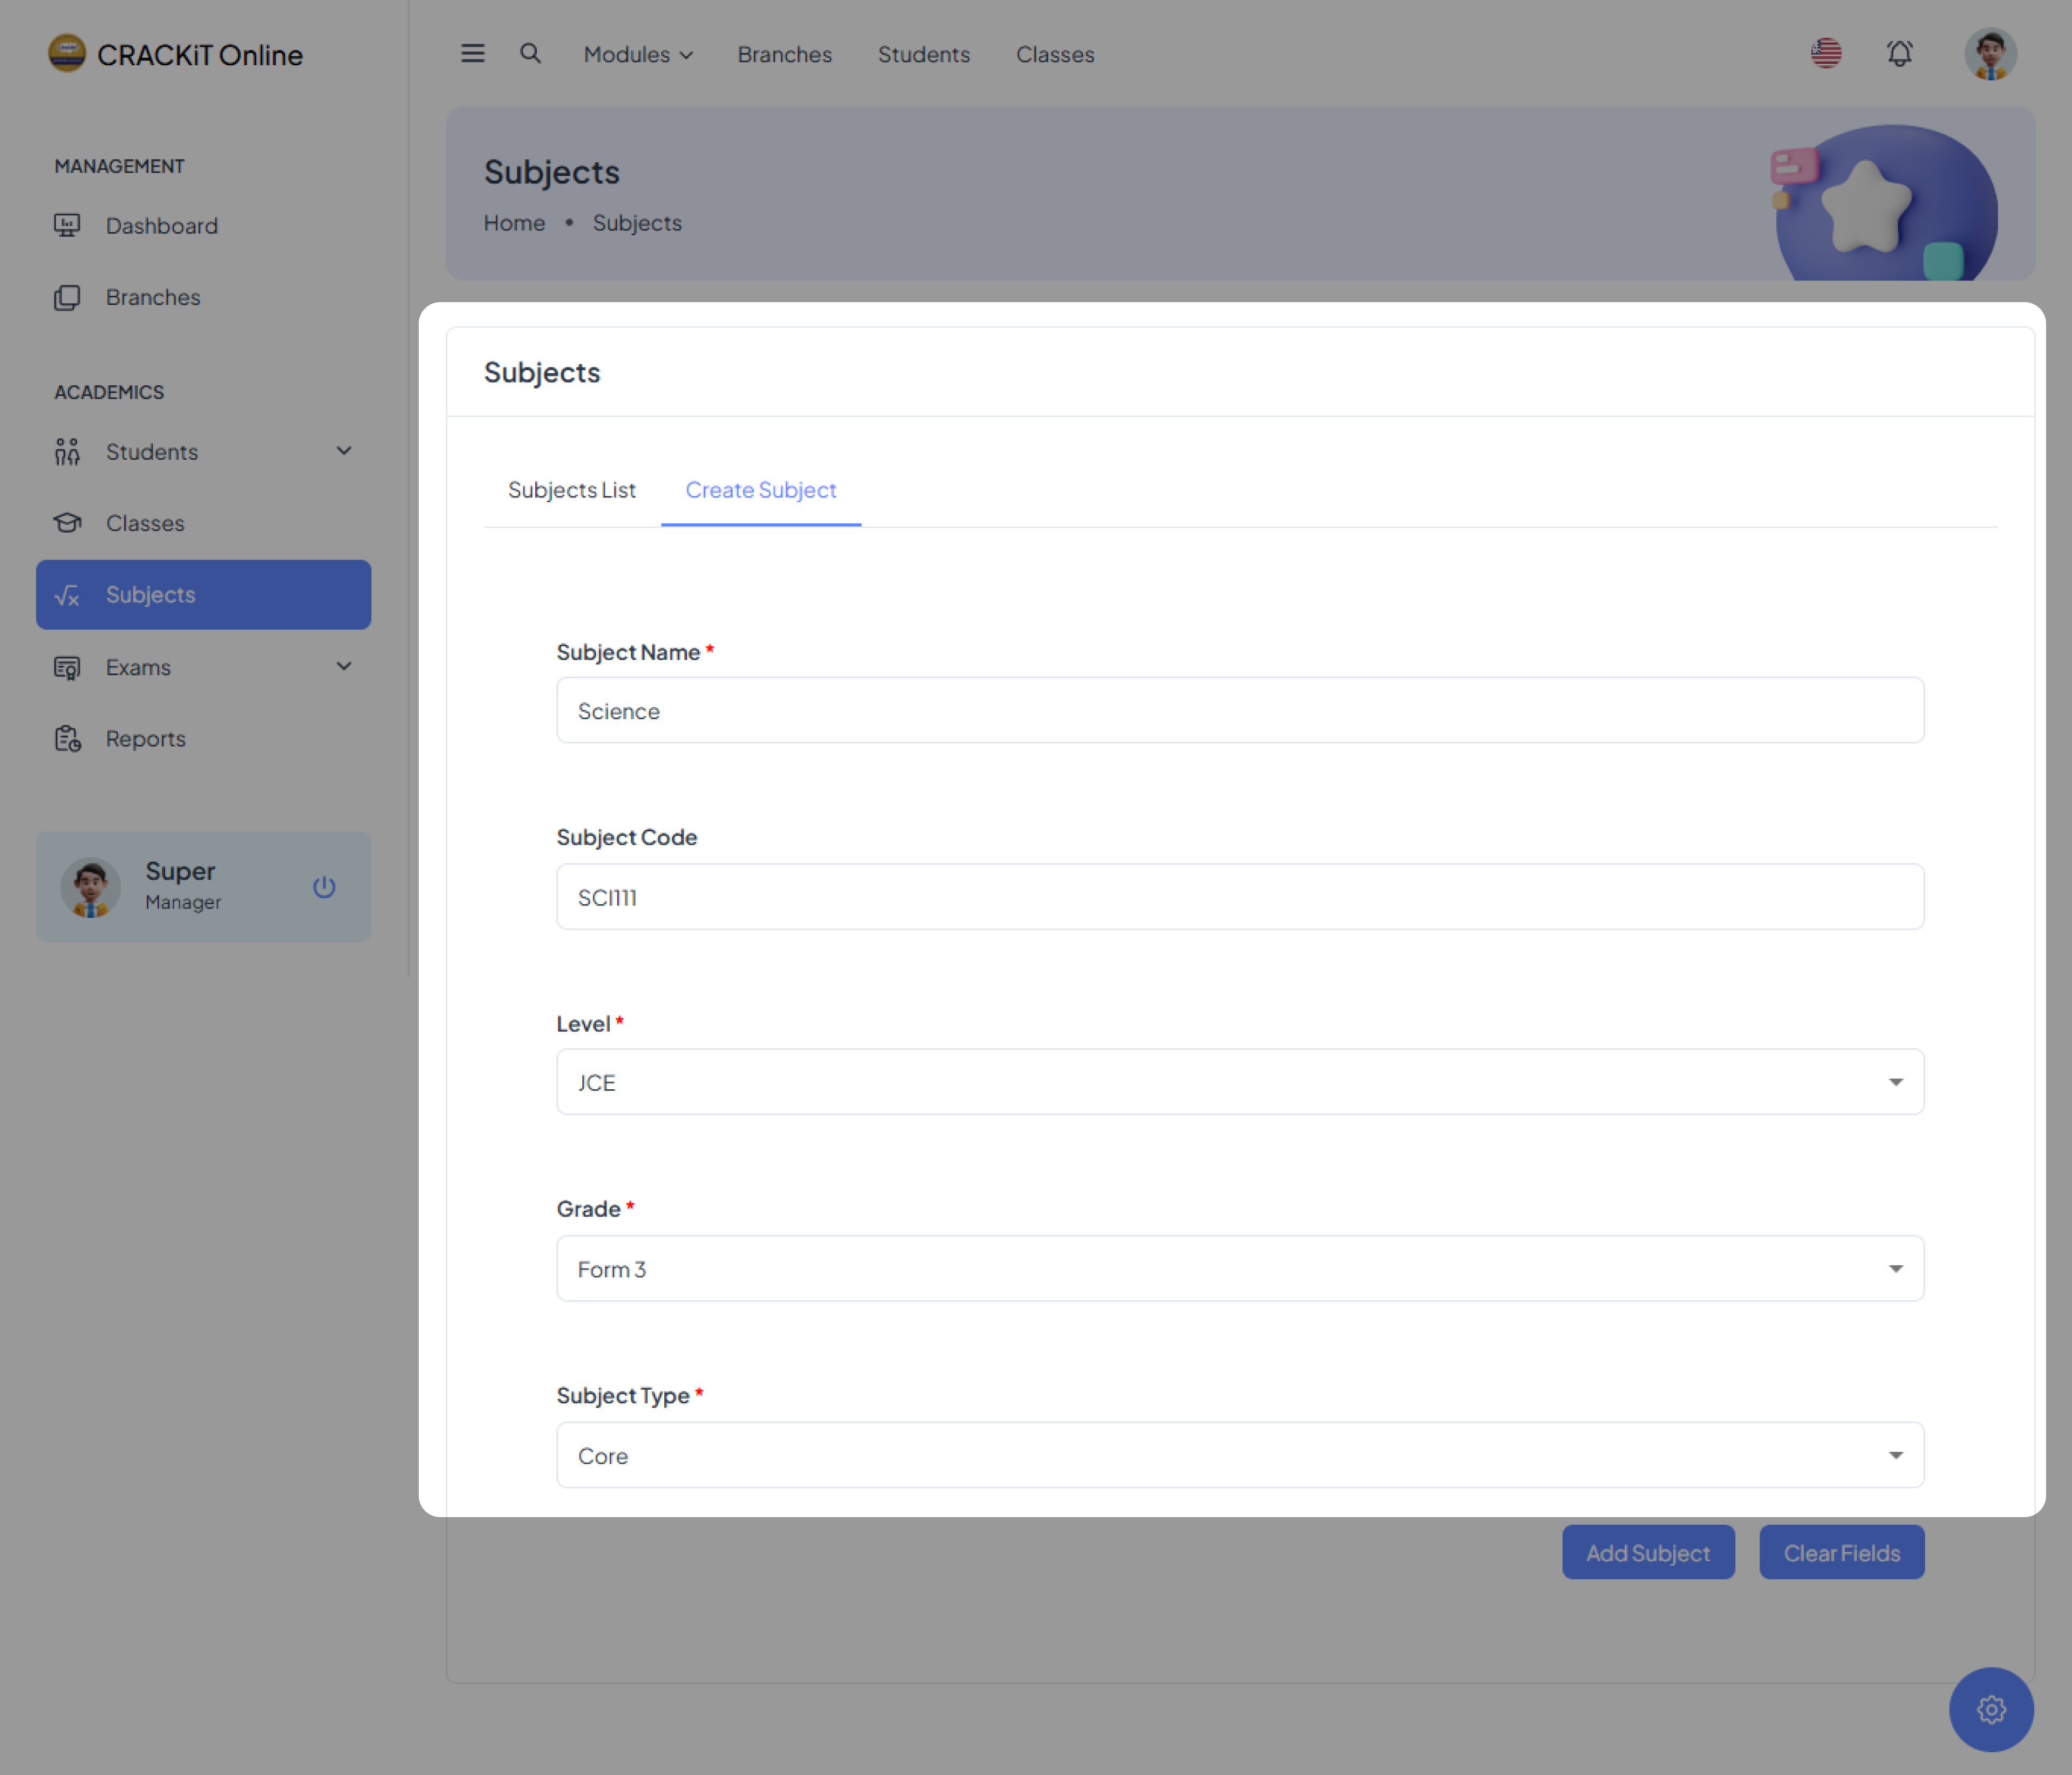
Creating a Subject
To create a new subject, the user should click on Create Subject and fill in the required information in the provided form.
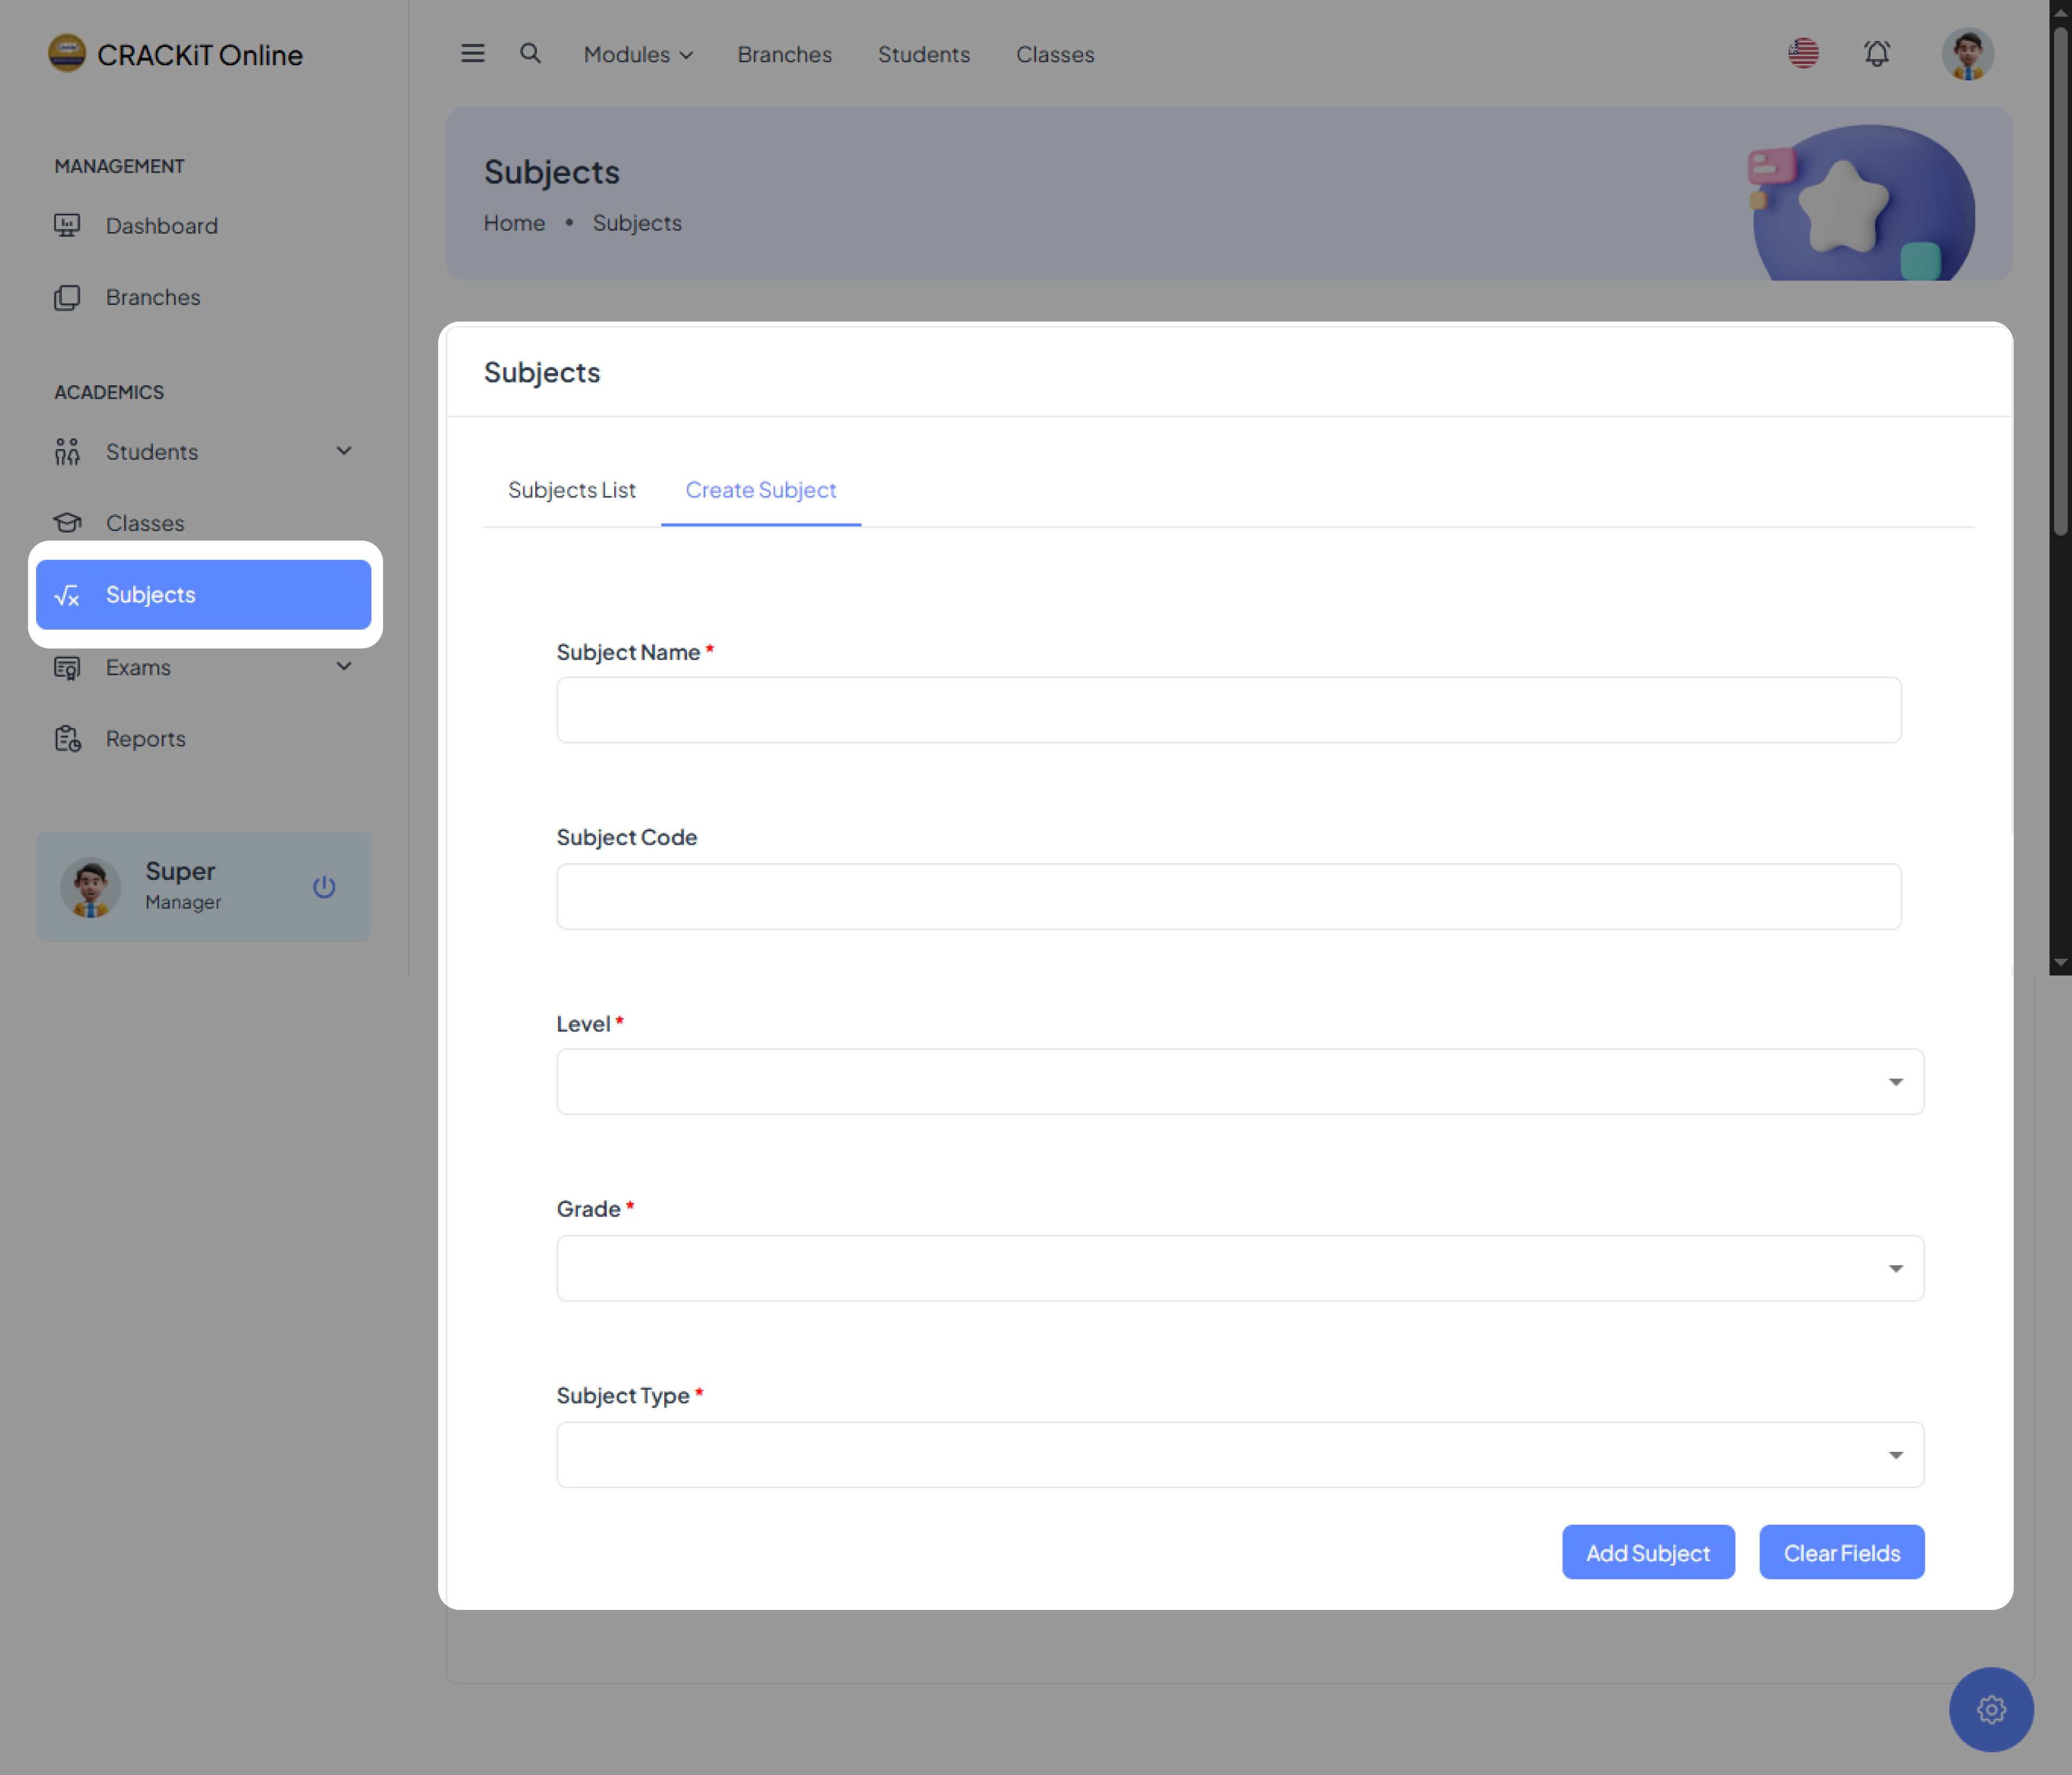
 Once all necessary details are entered, the user must click the Add Subject button to submit the form.
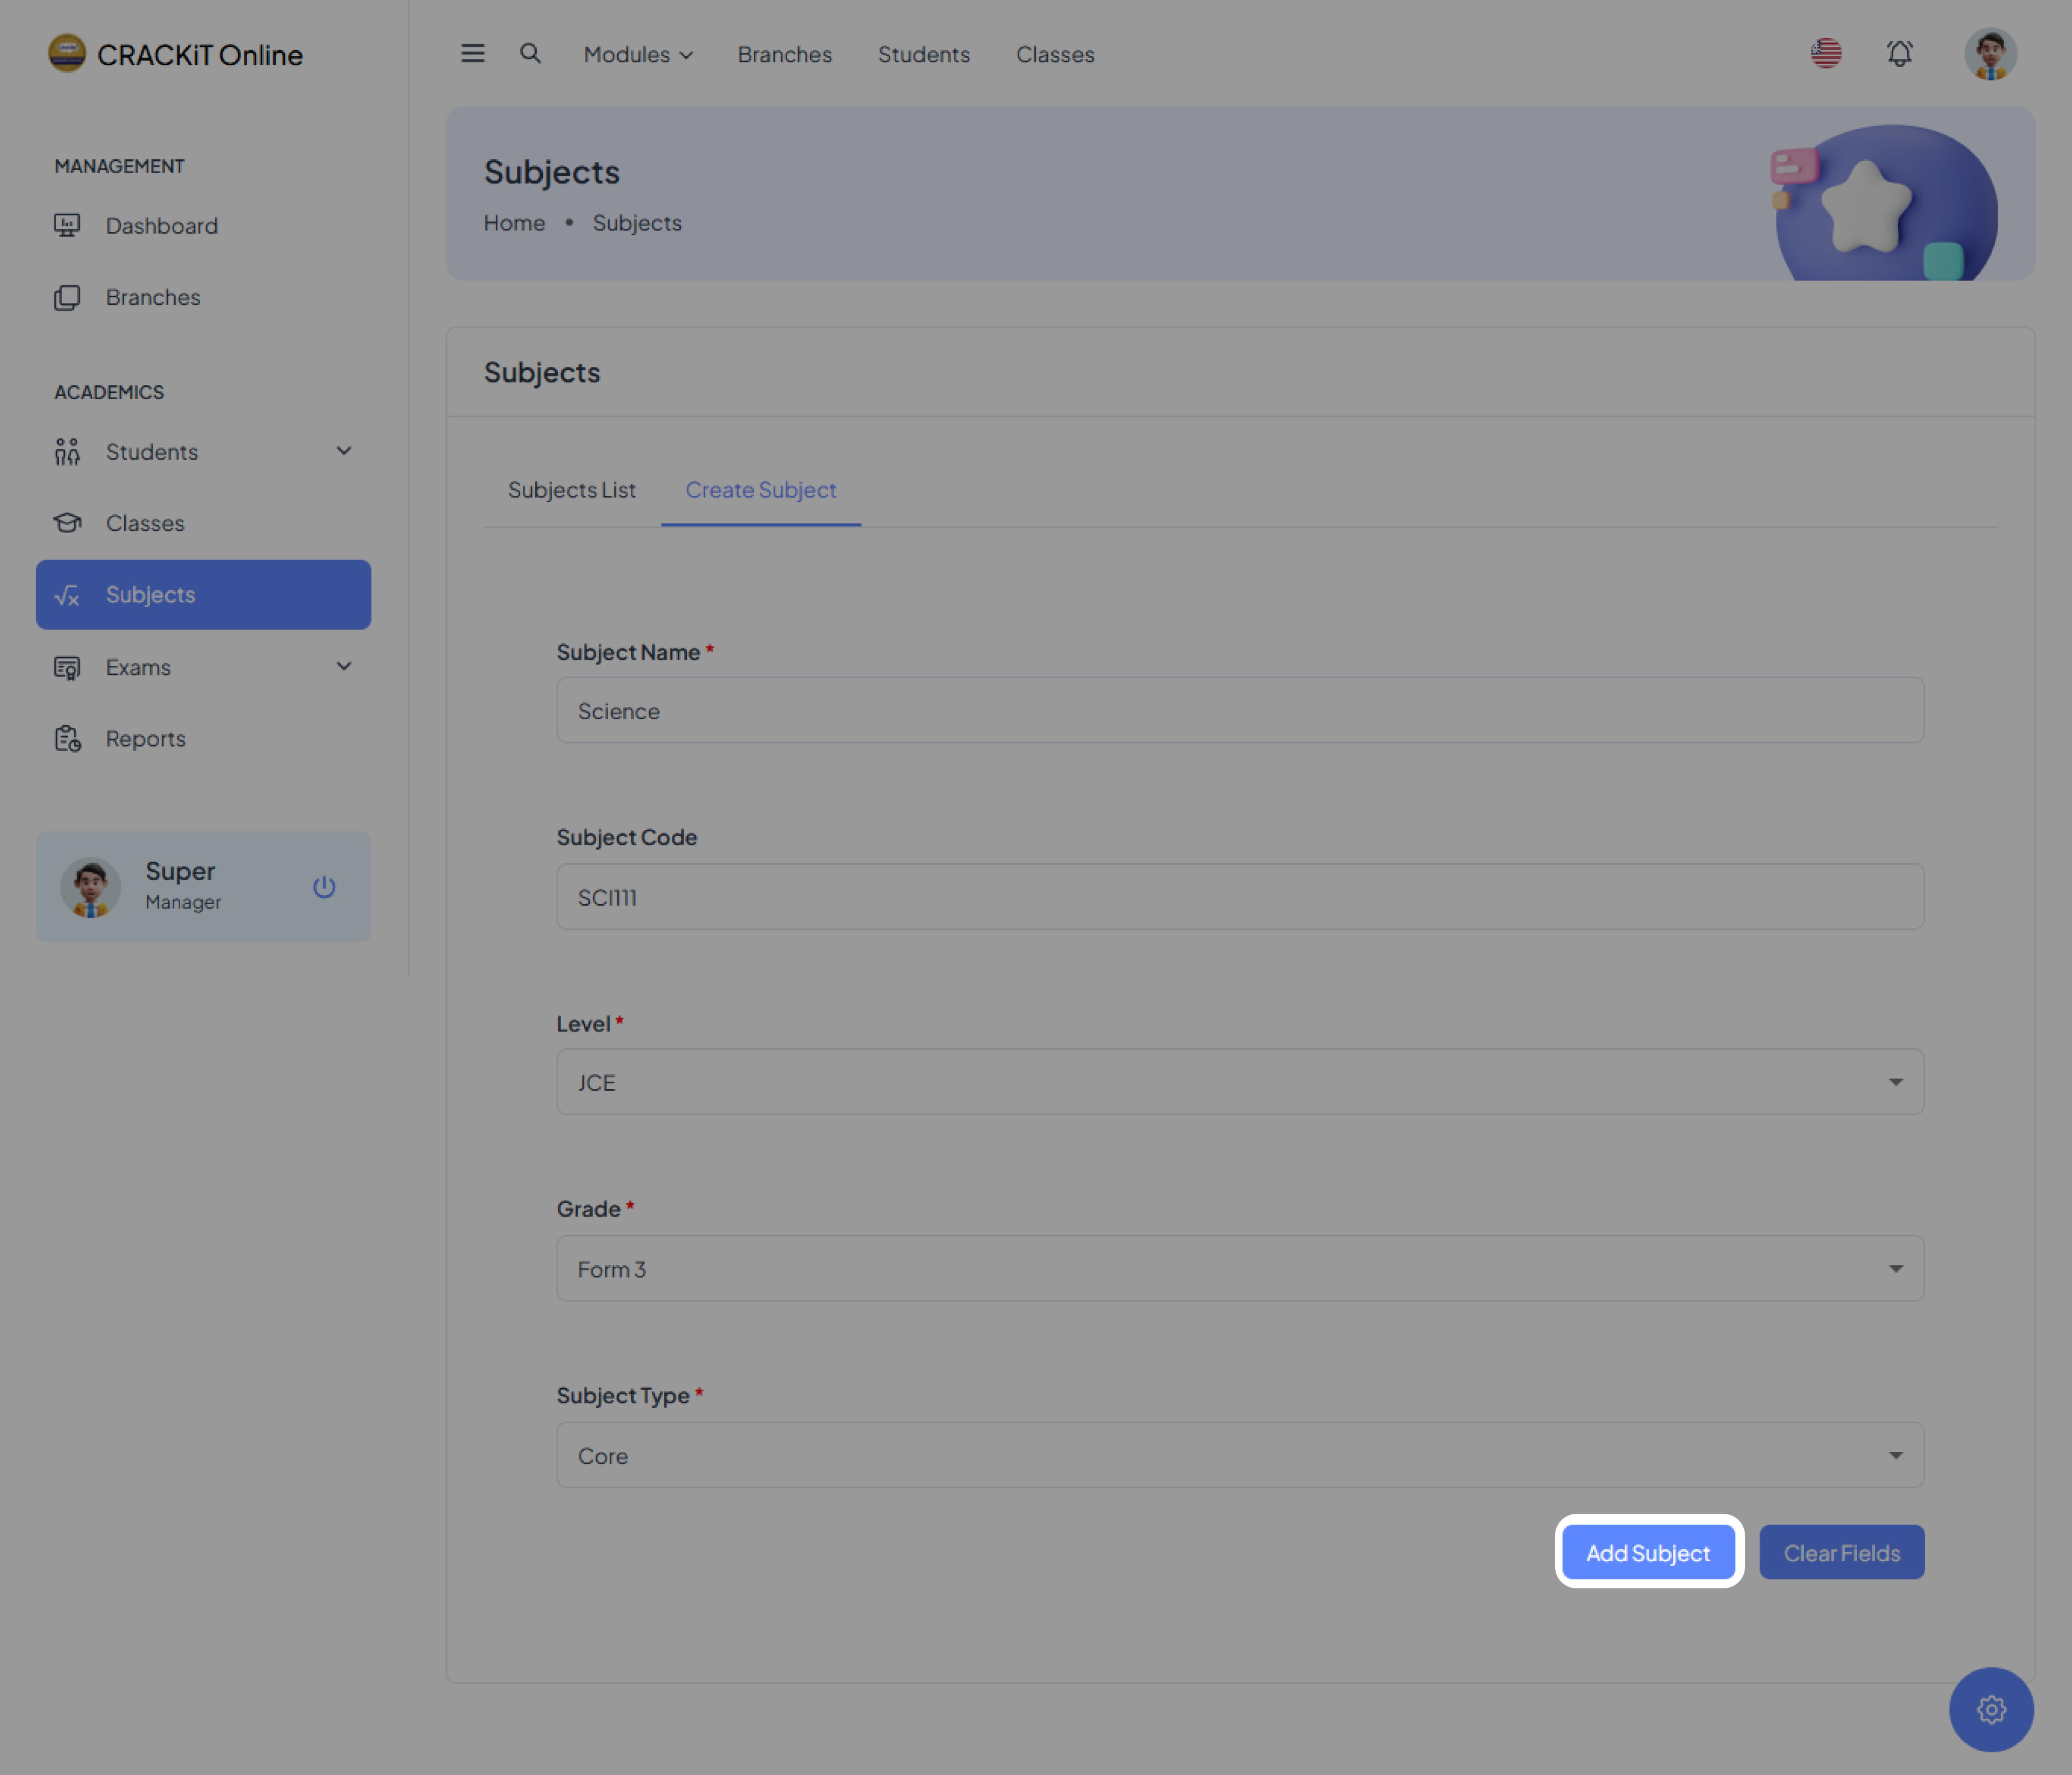 Note: If the user wishes to clear the form, they can click the Clear Fields button to remove all entered information.
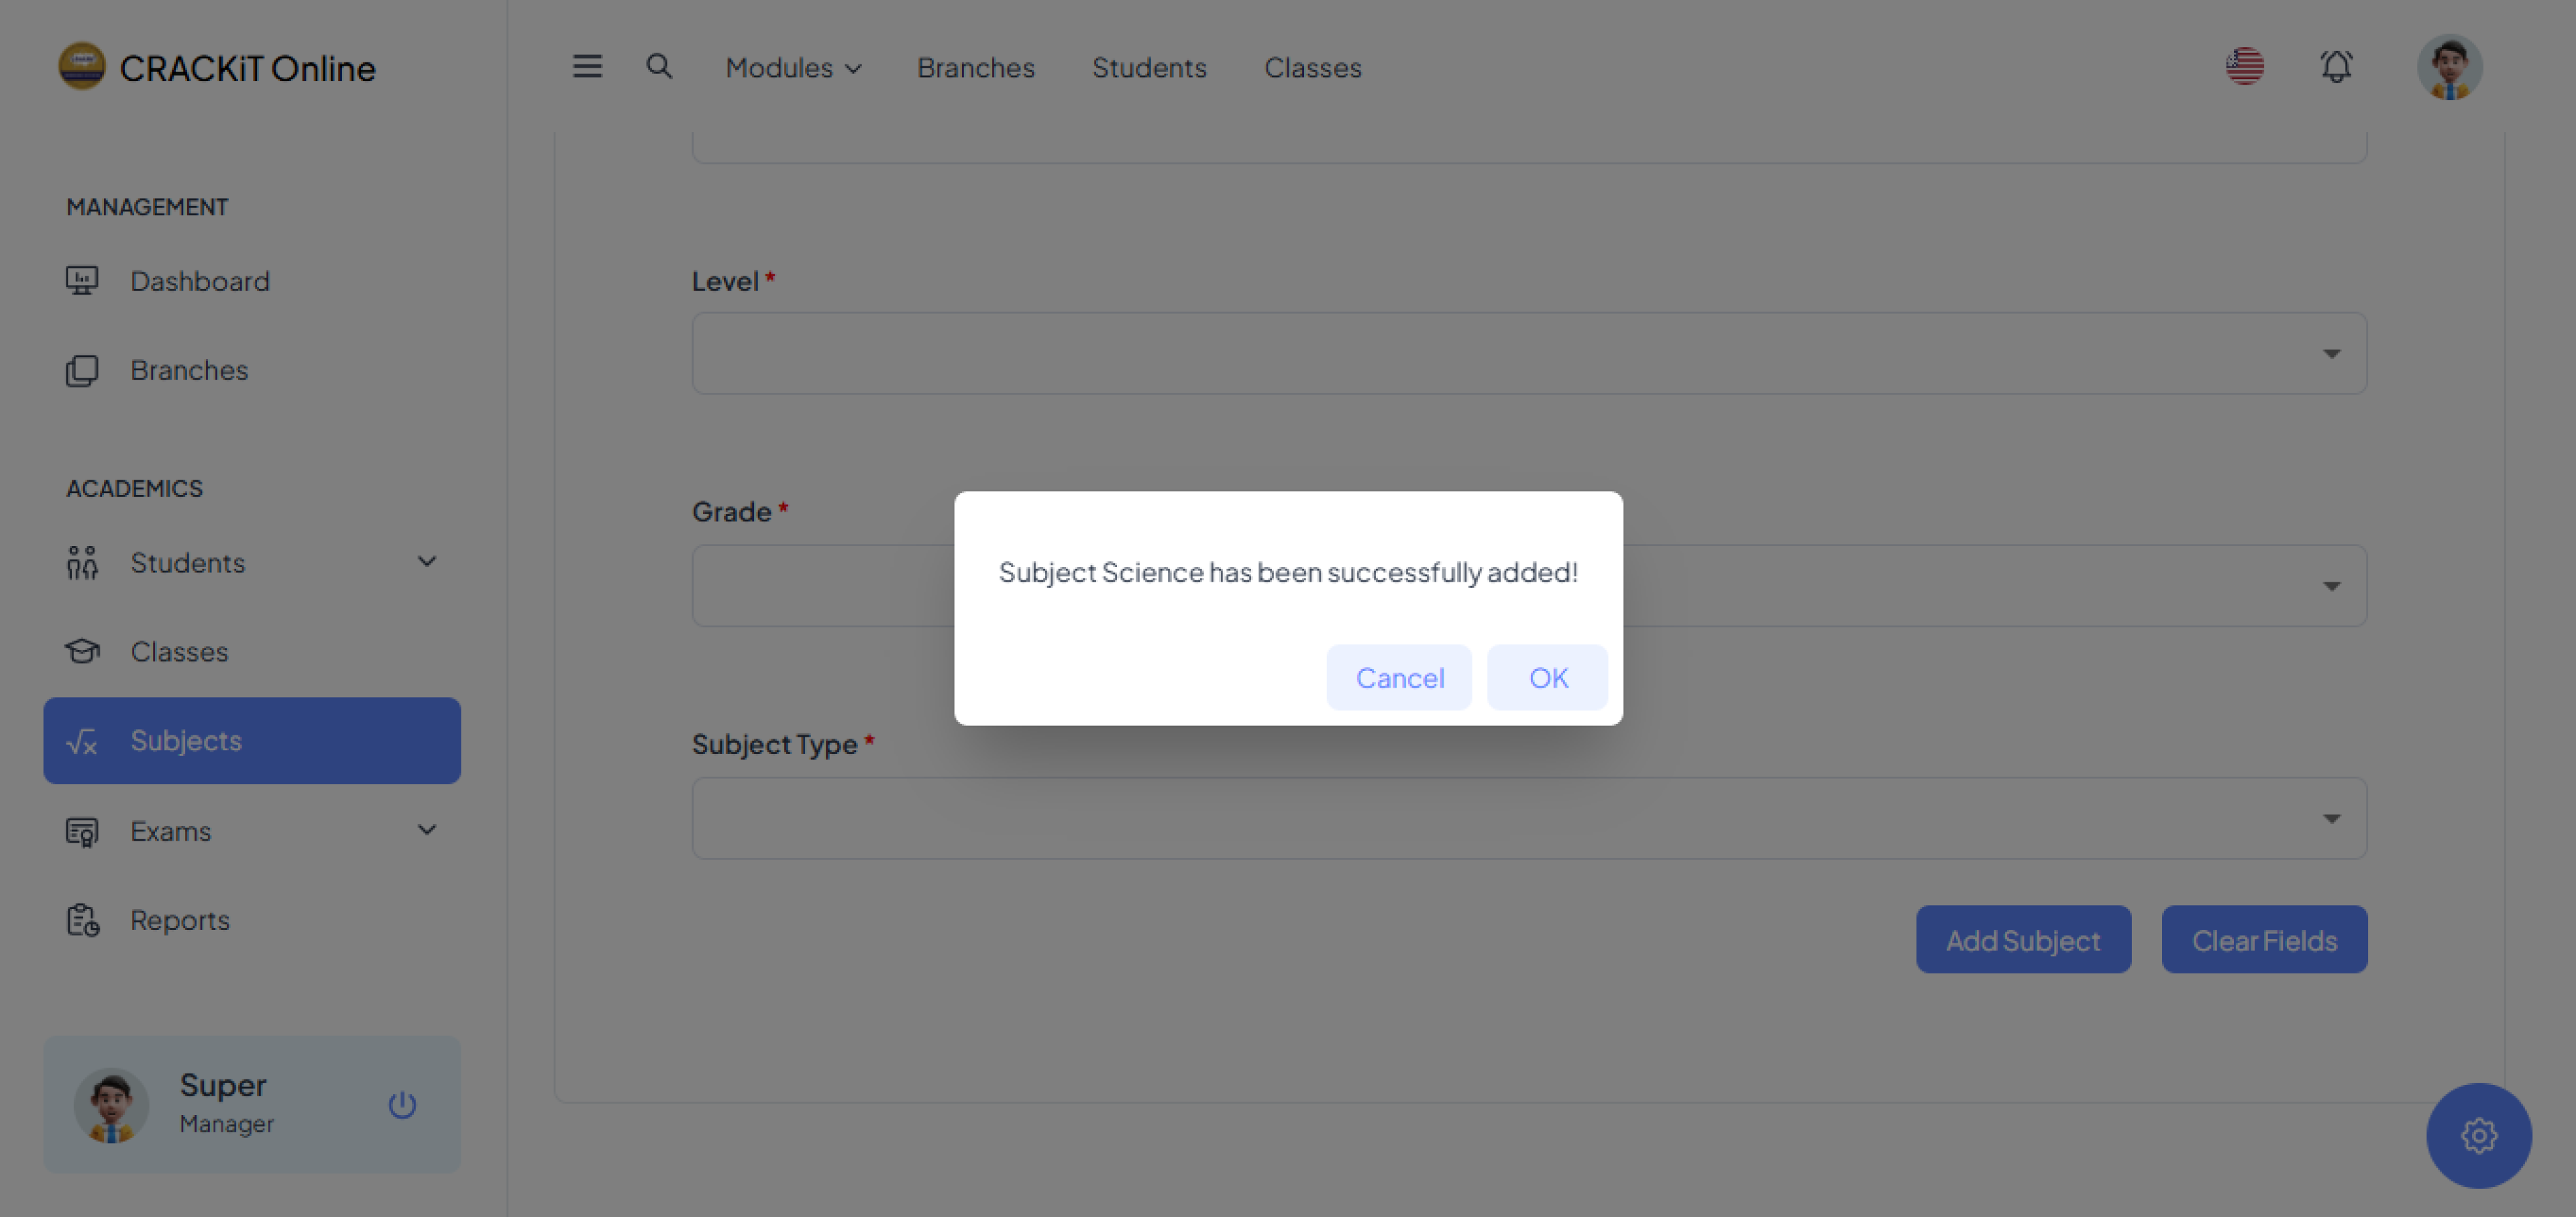
After successfully adding a subject, a pop-up message will appear. The user needs to click the OK button to close the message.
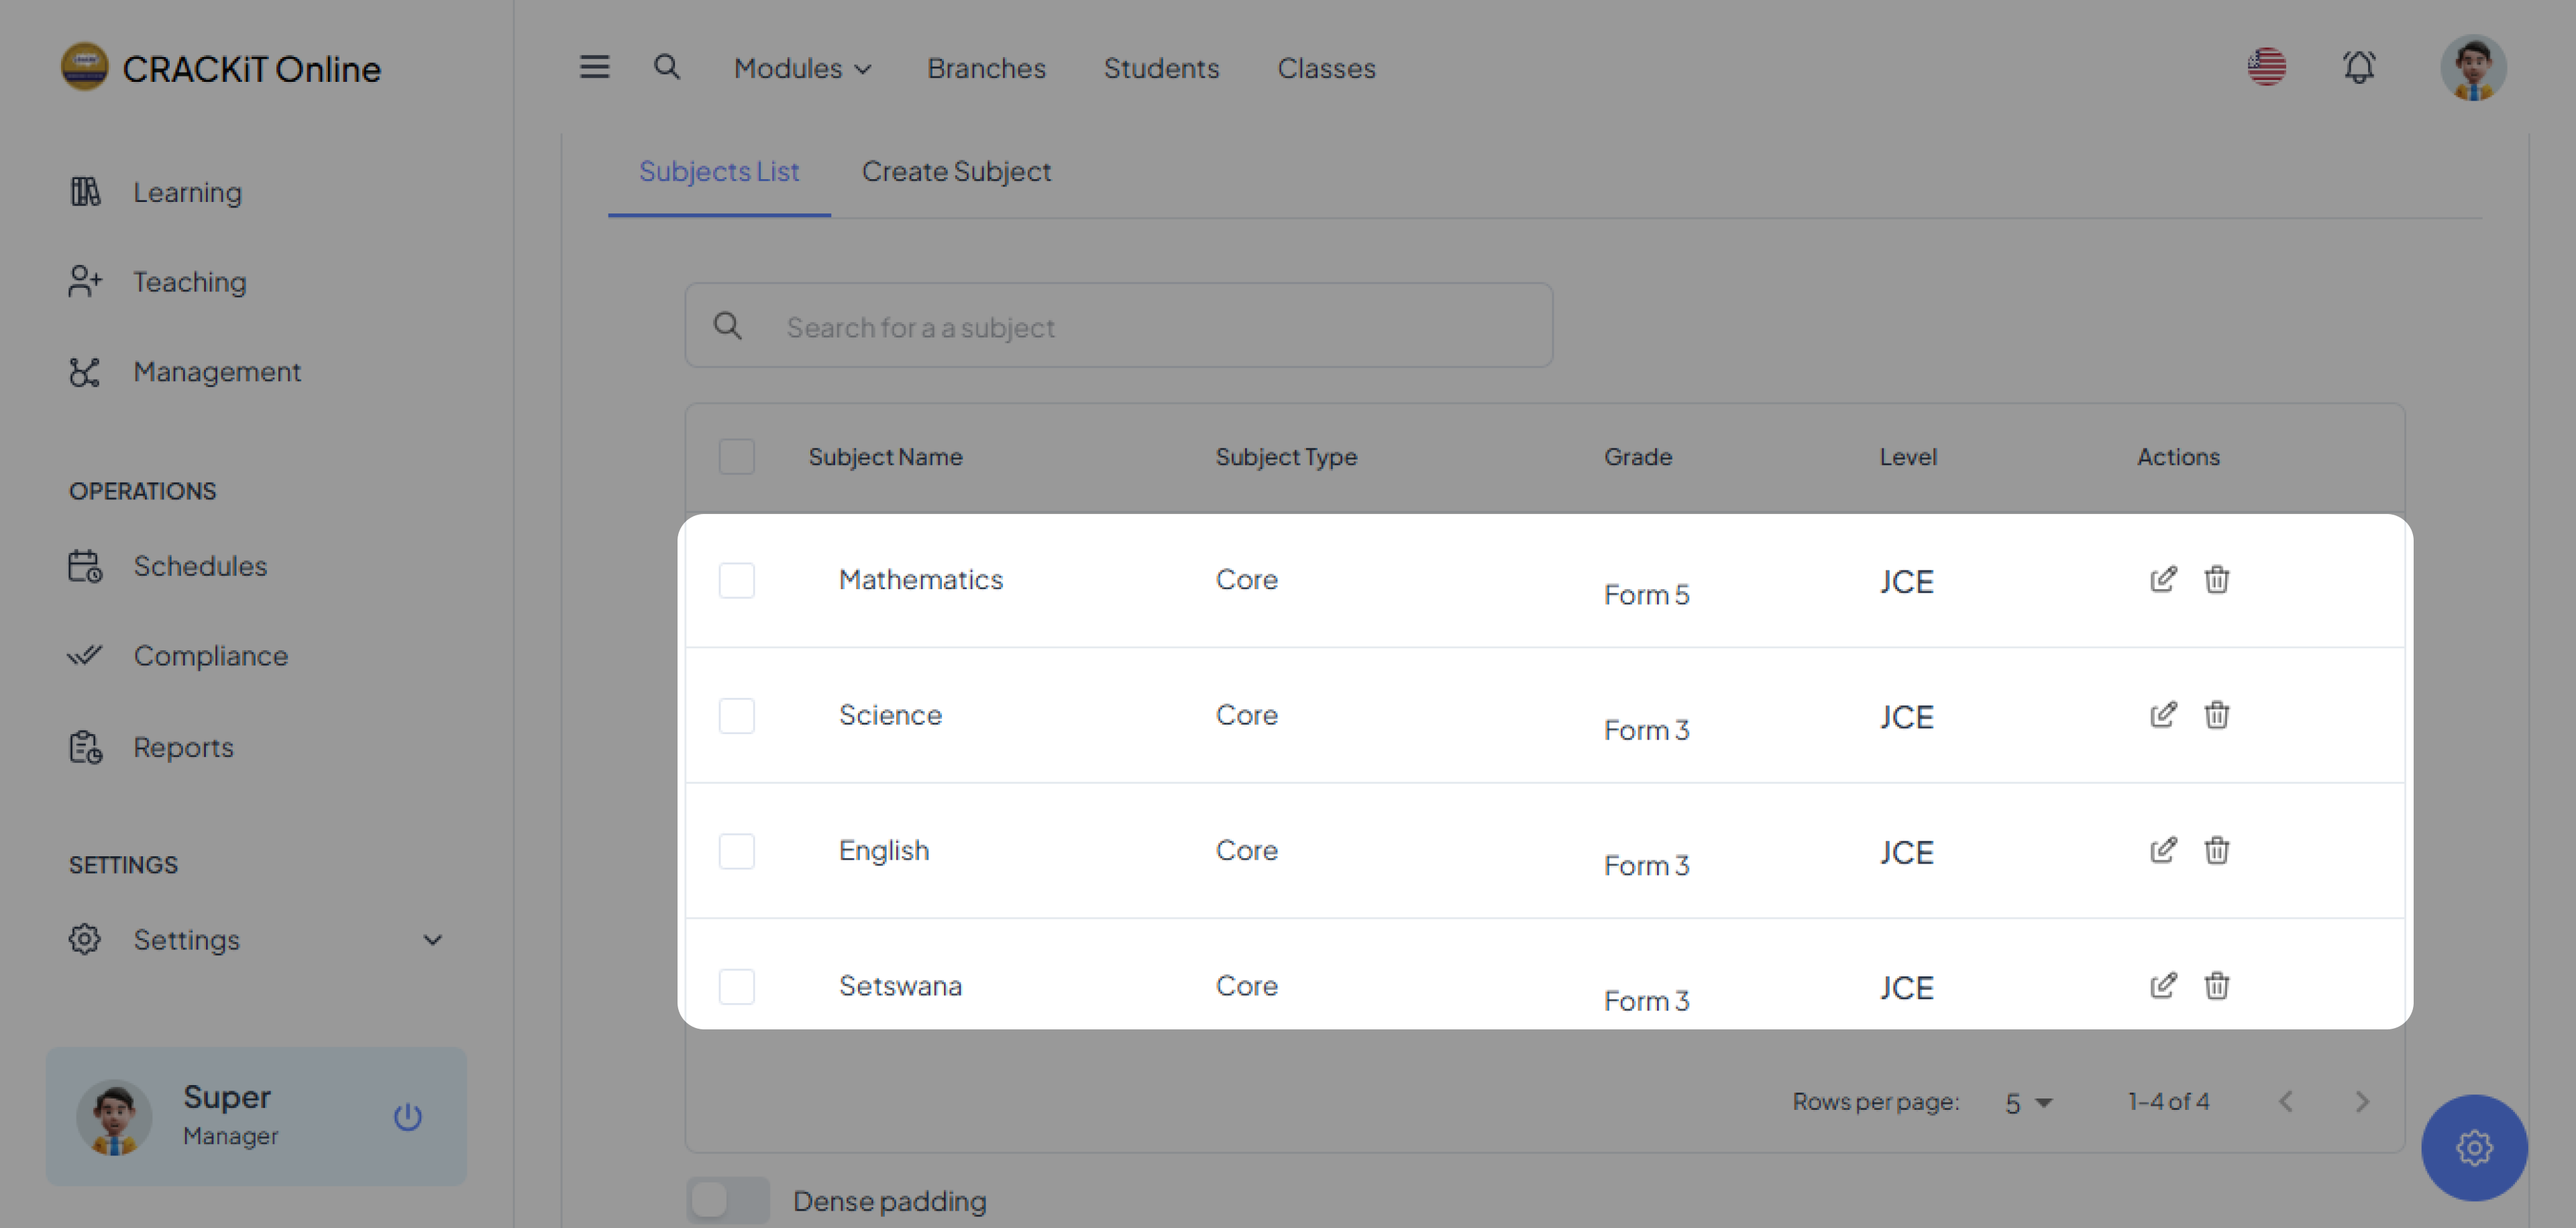
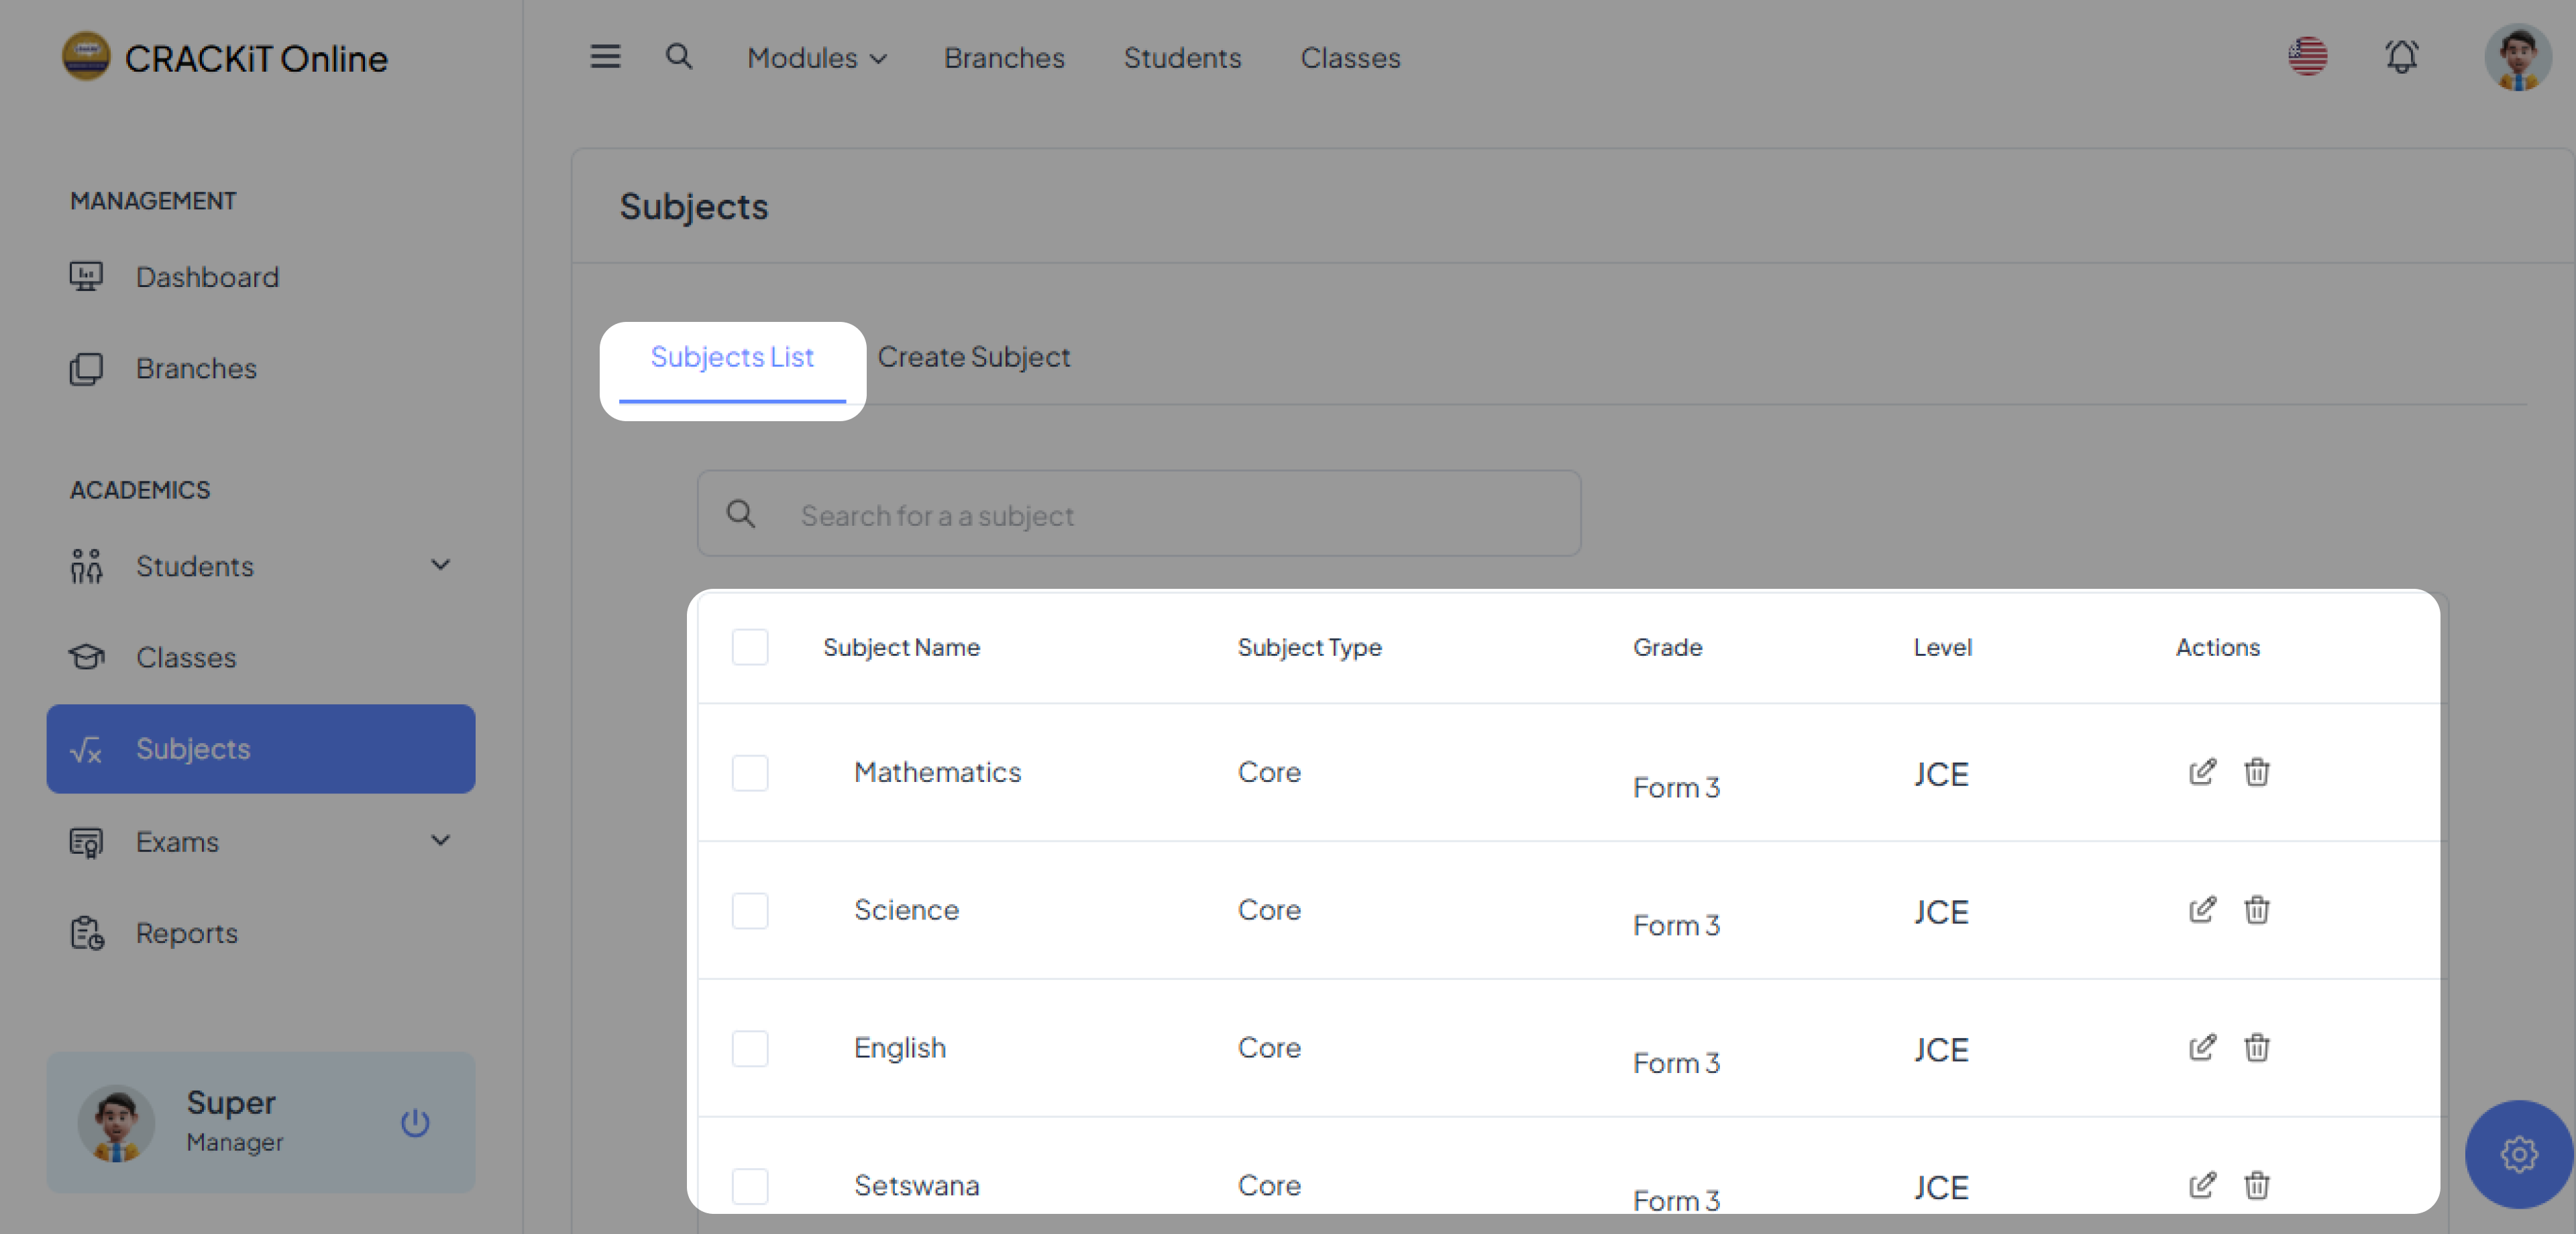
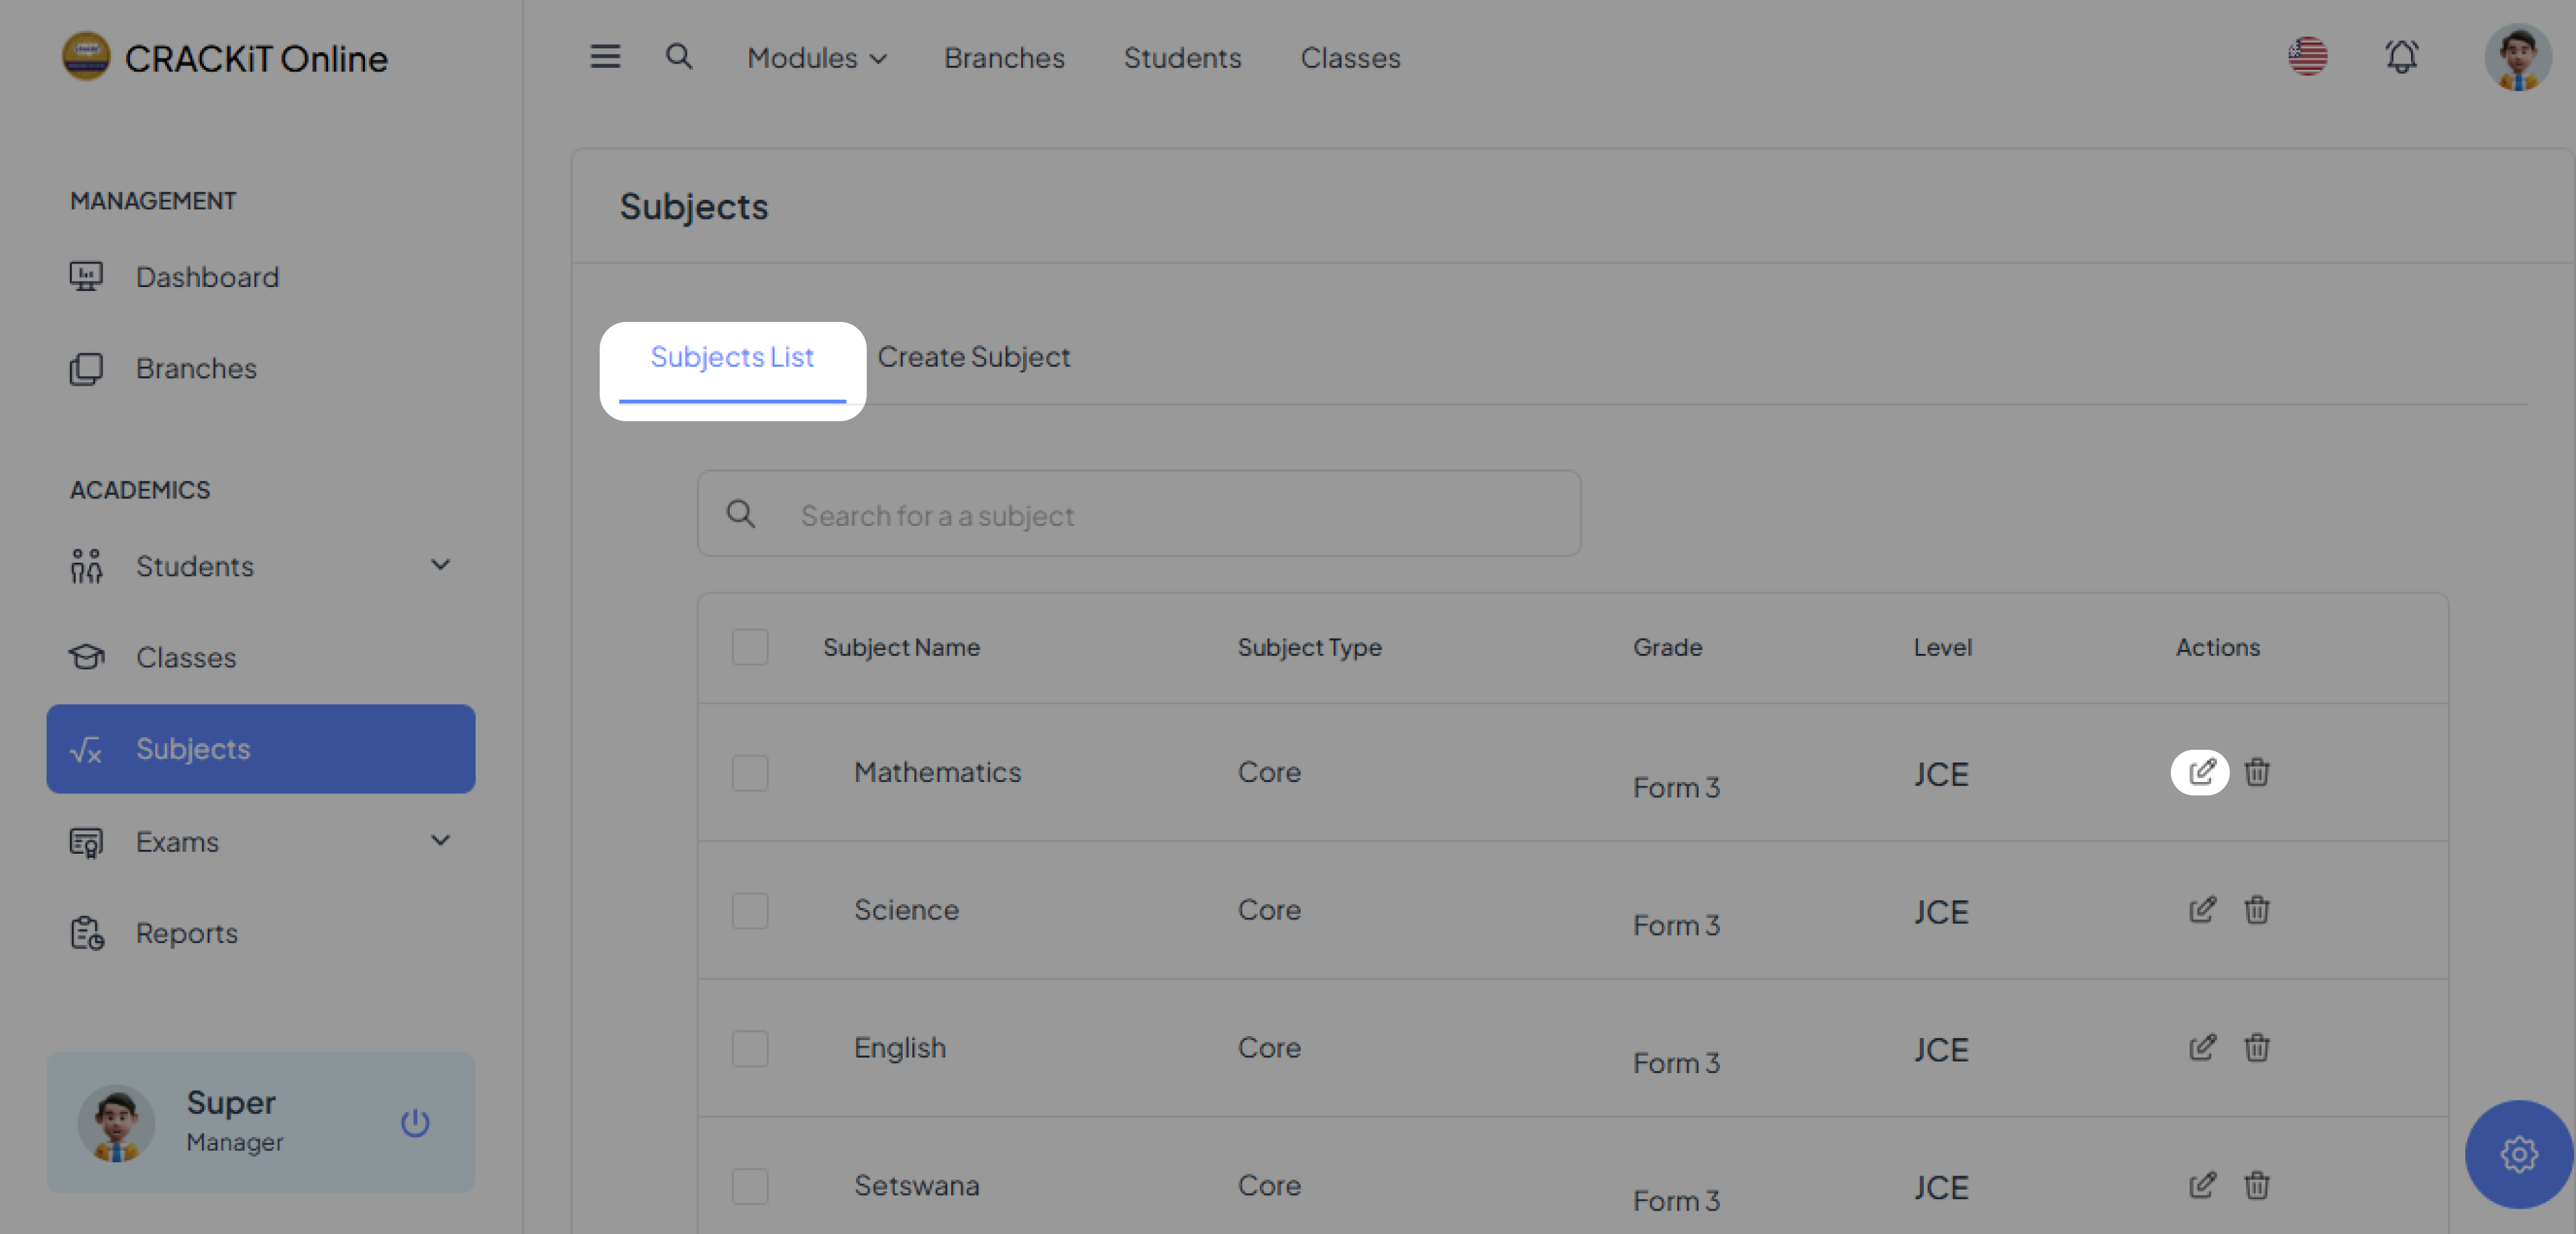
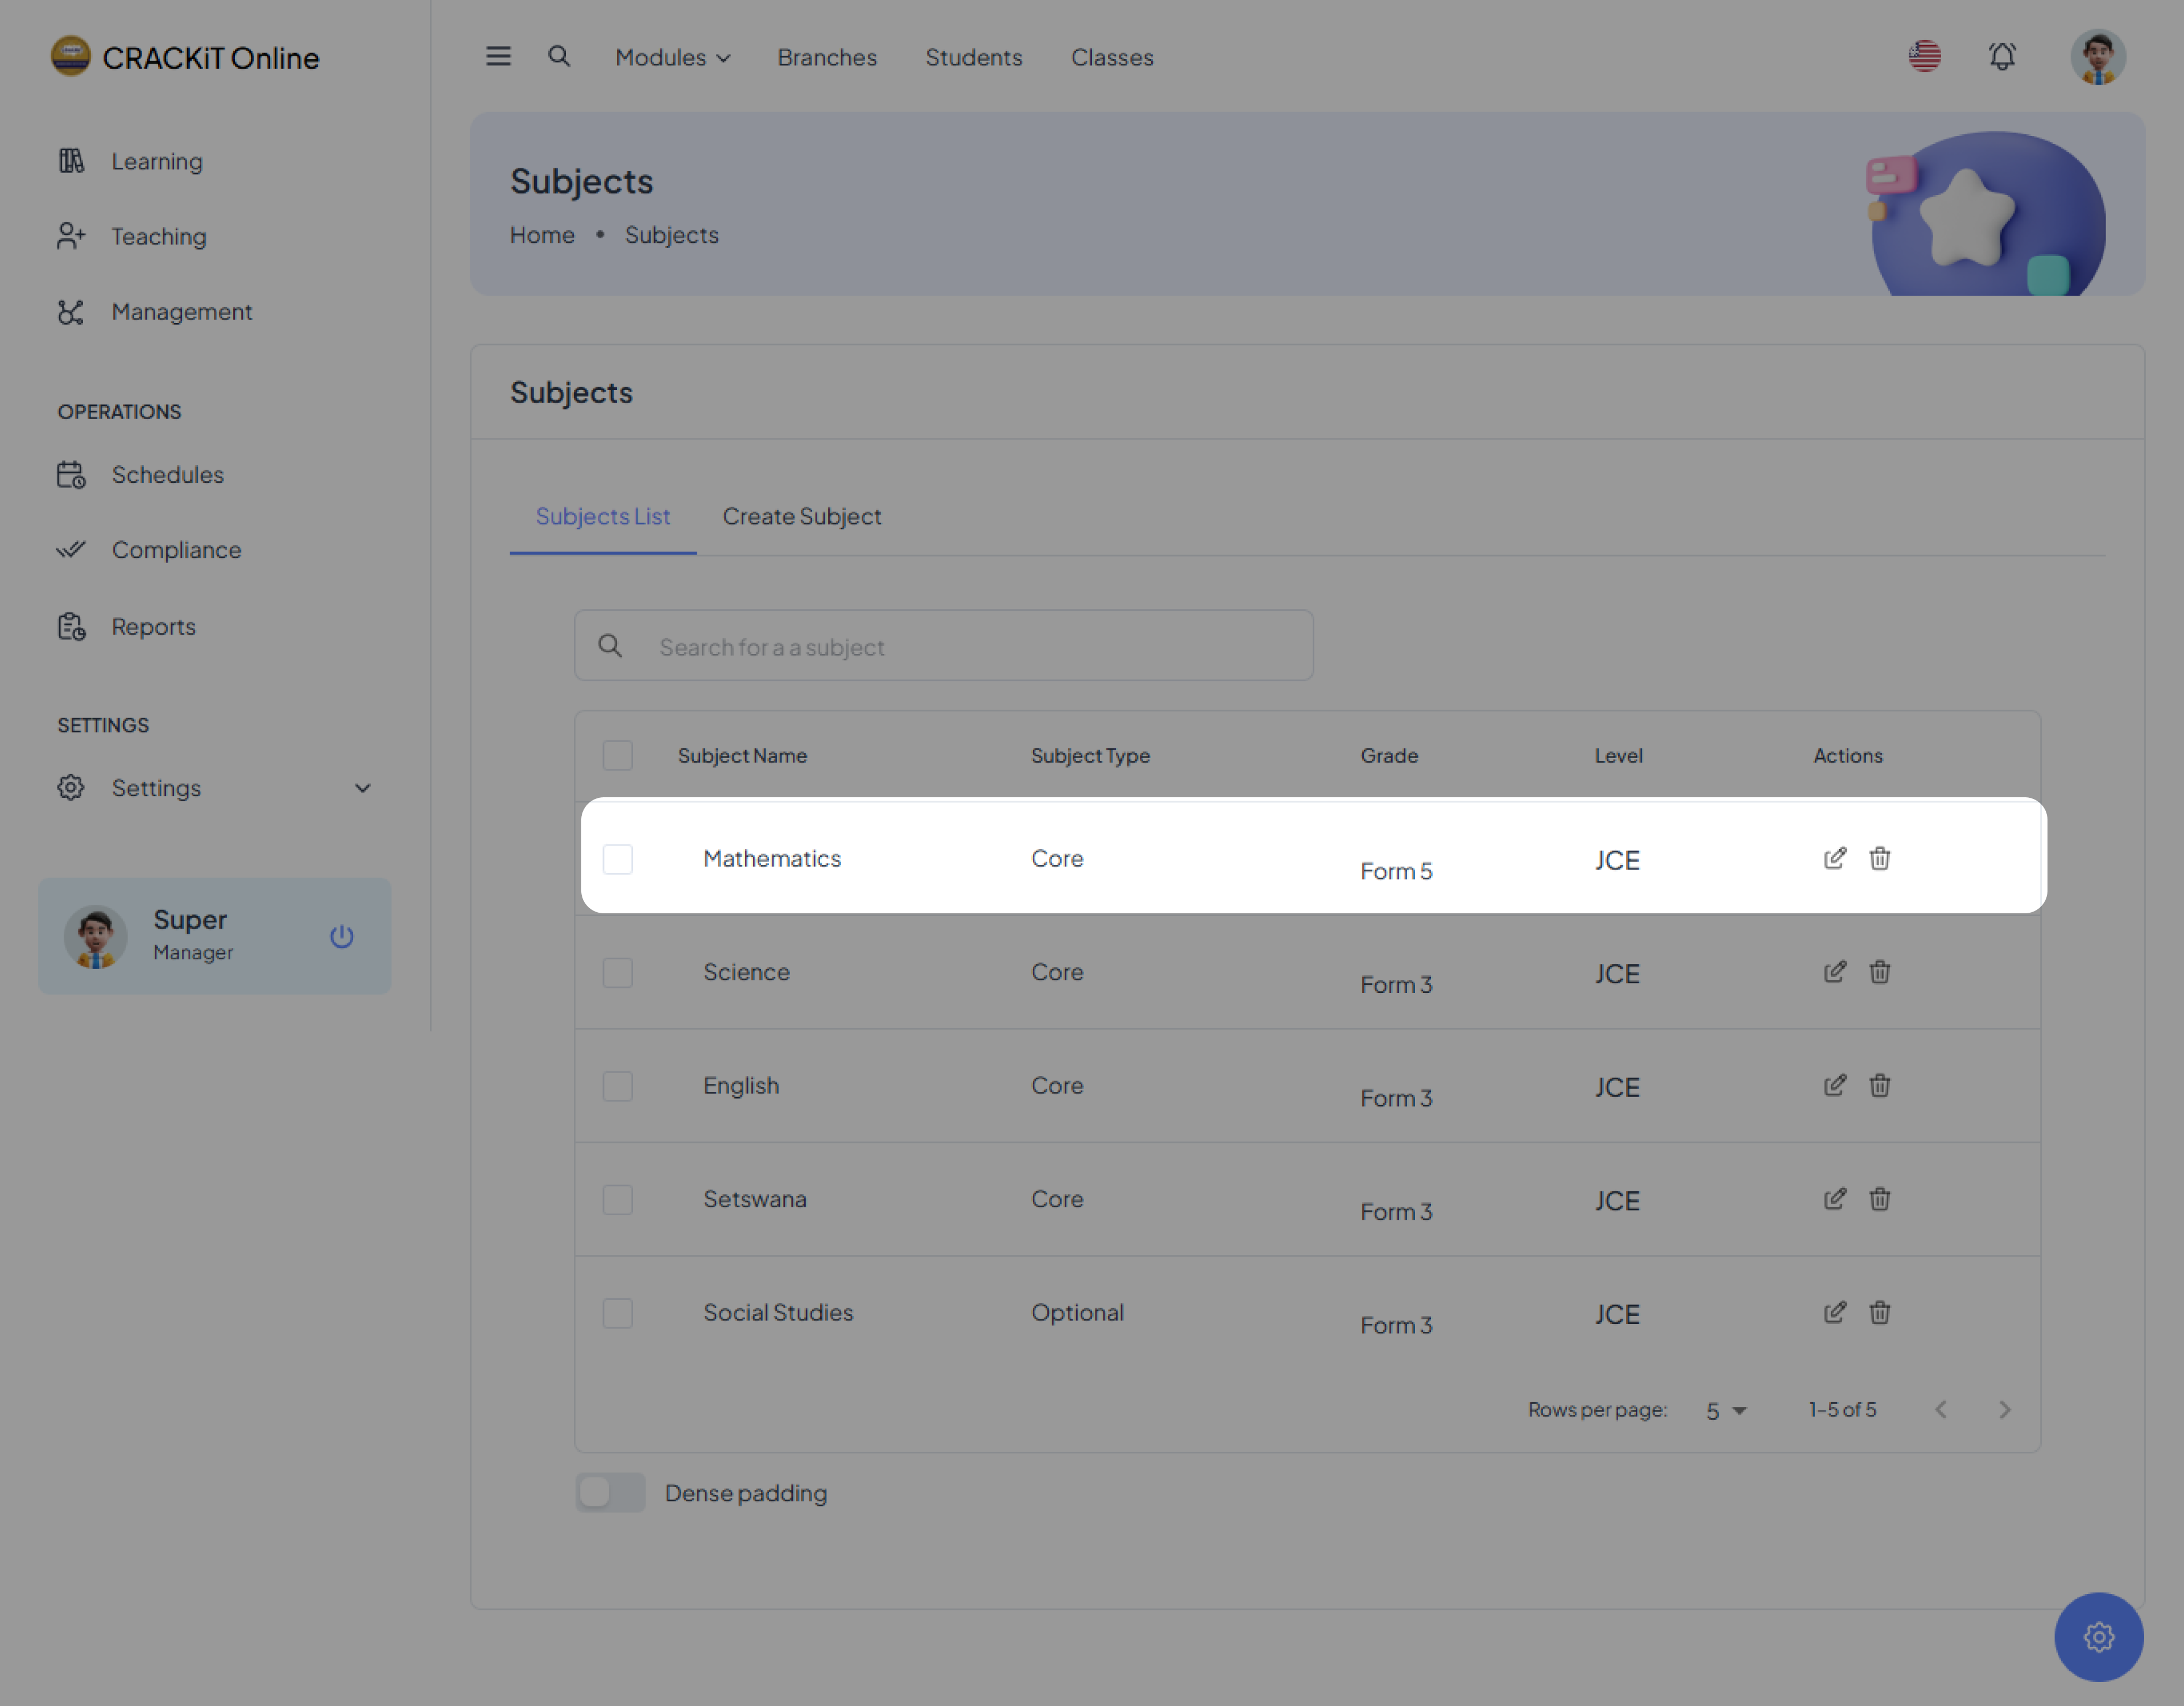
Viewing the Subject List
To view all subjects, the user must click on Subjects List, which will display the complete list of subjects.
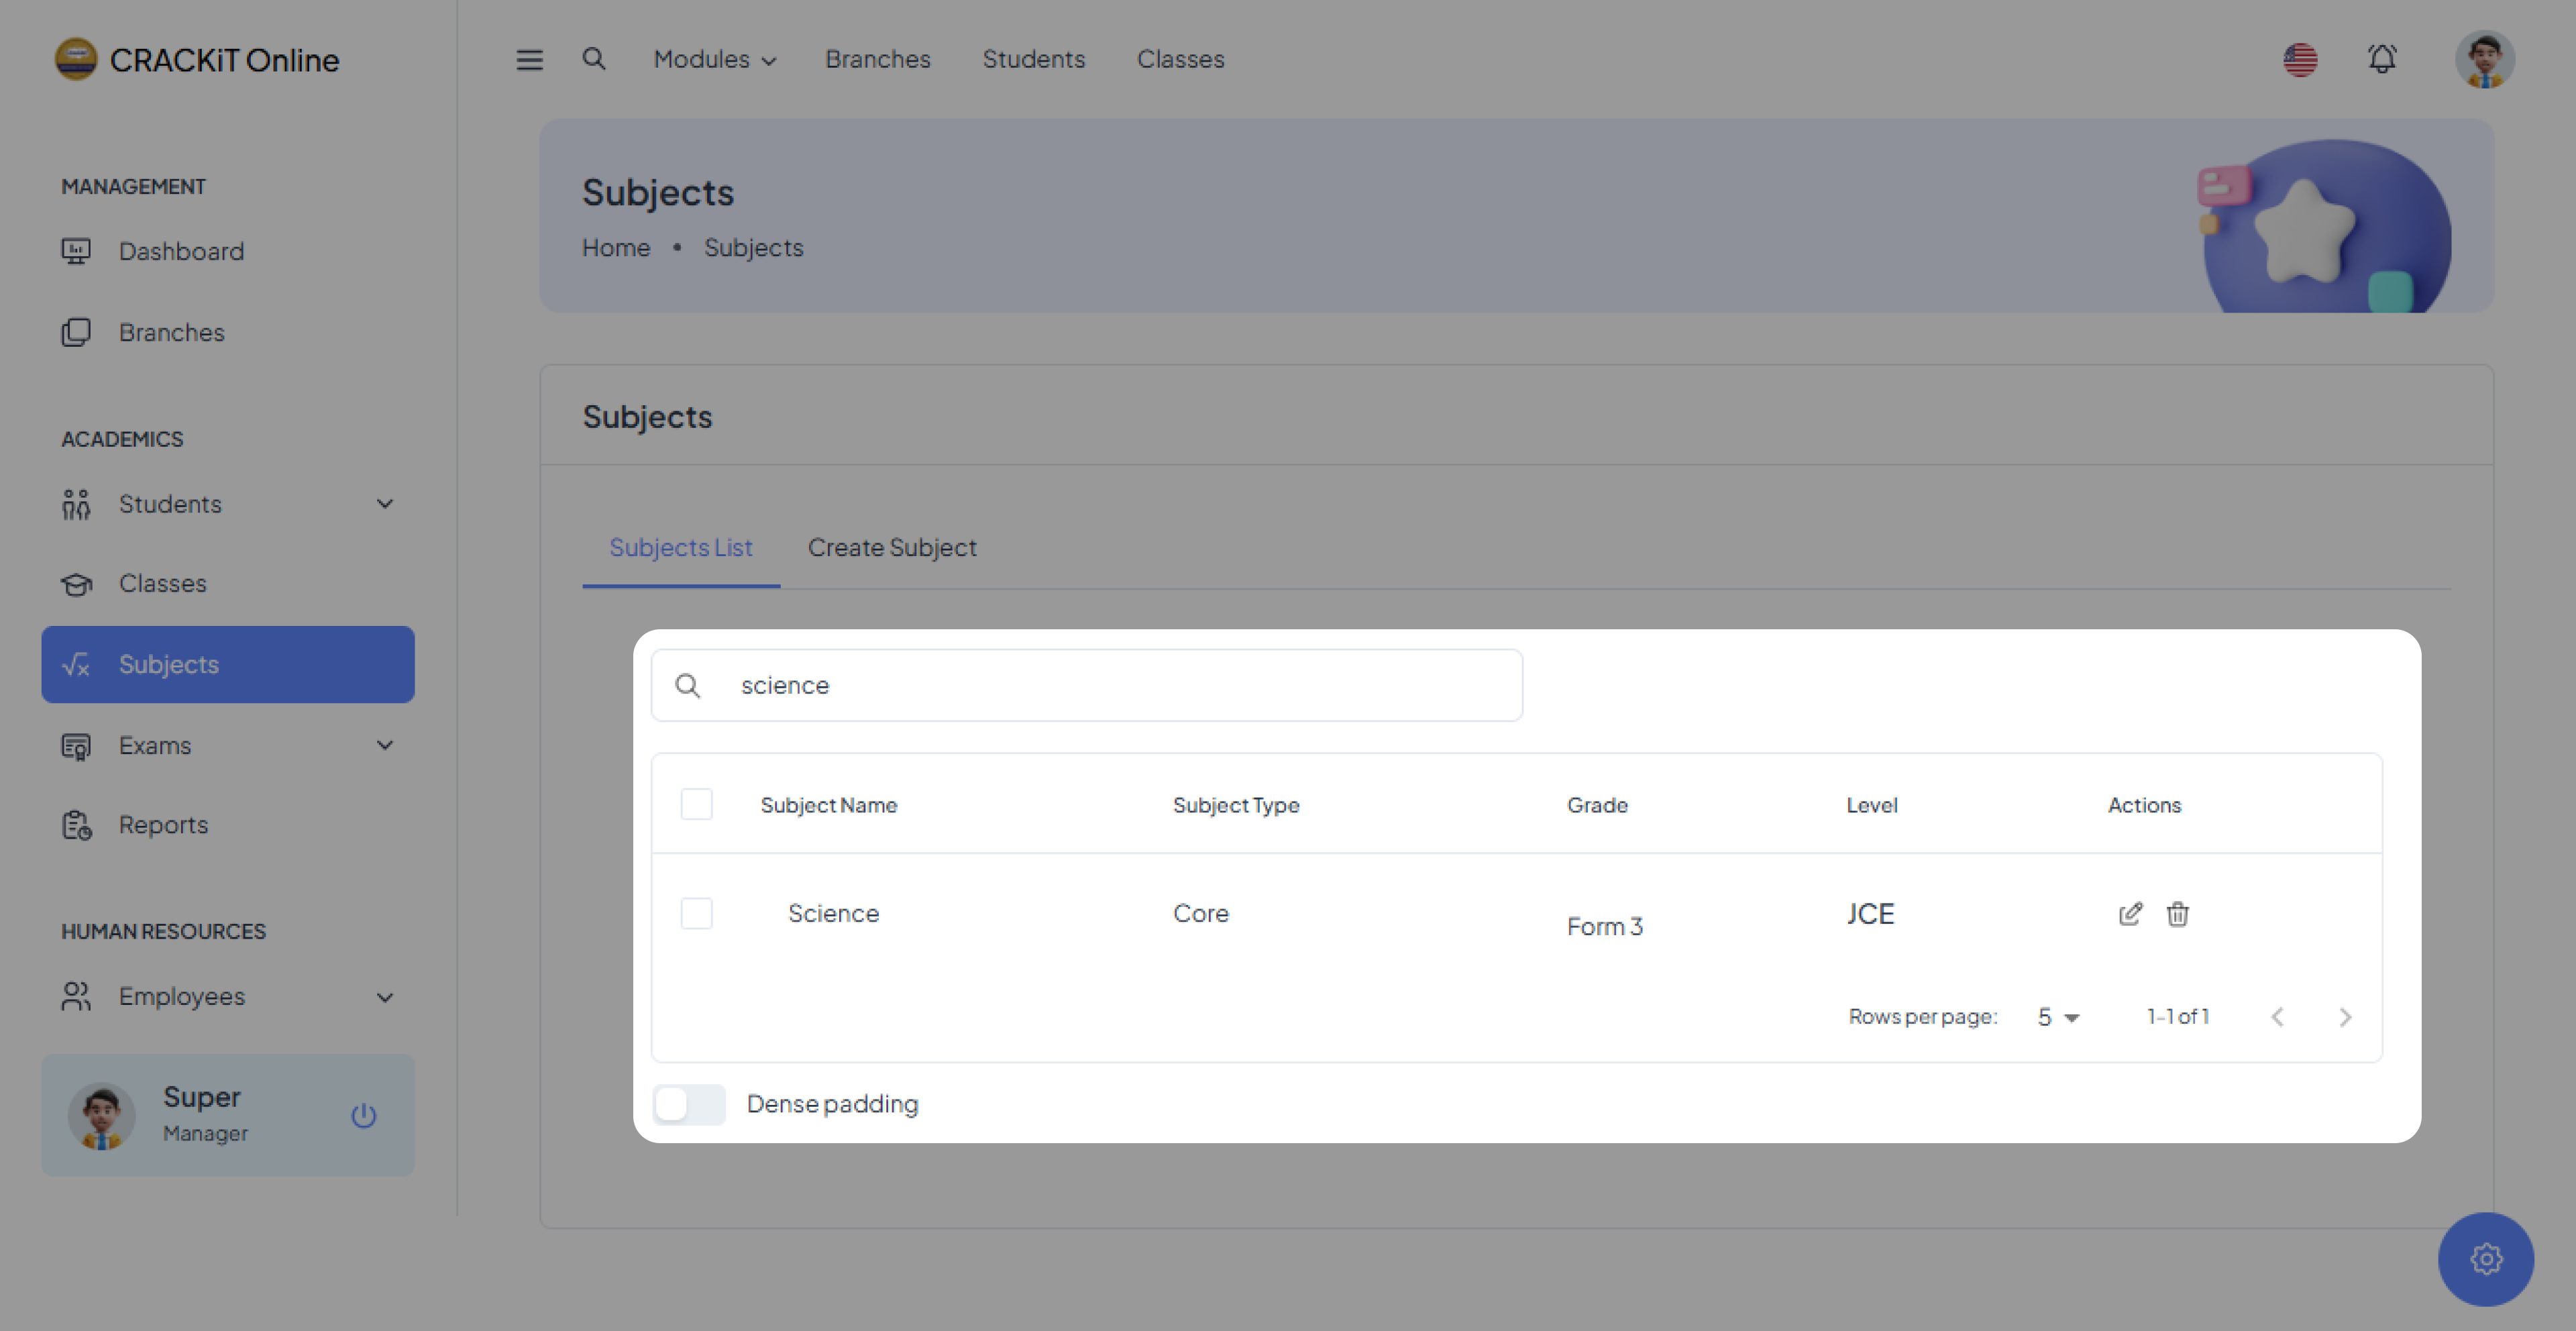
Searching Subject
If the user wants to search for a specific subject, they should click on the search box, type the subject name, and press Enter.
Editing a Subject
To modify an existing subject, the user needs to navigate to the Subjects List, locate the subject they wish to edit, and click the edit icon next to it.
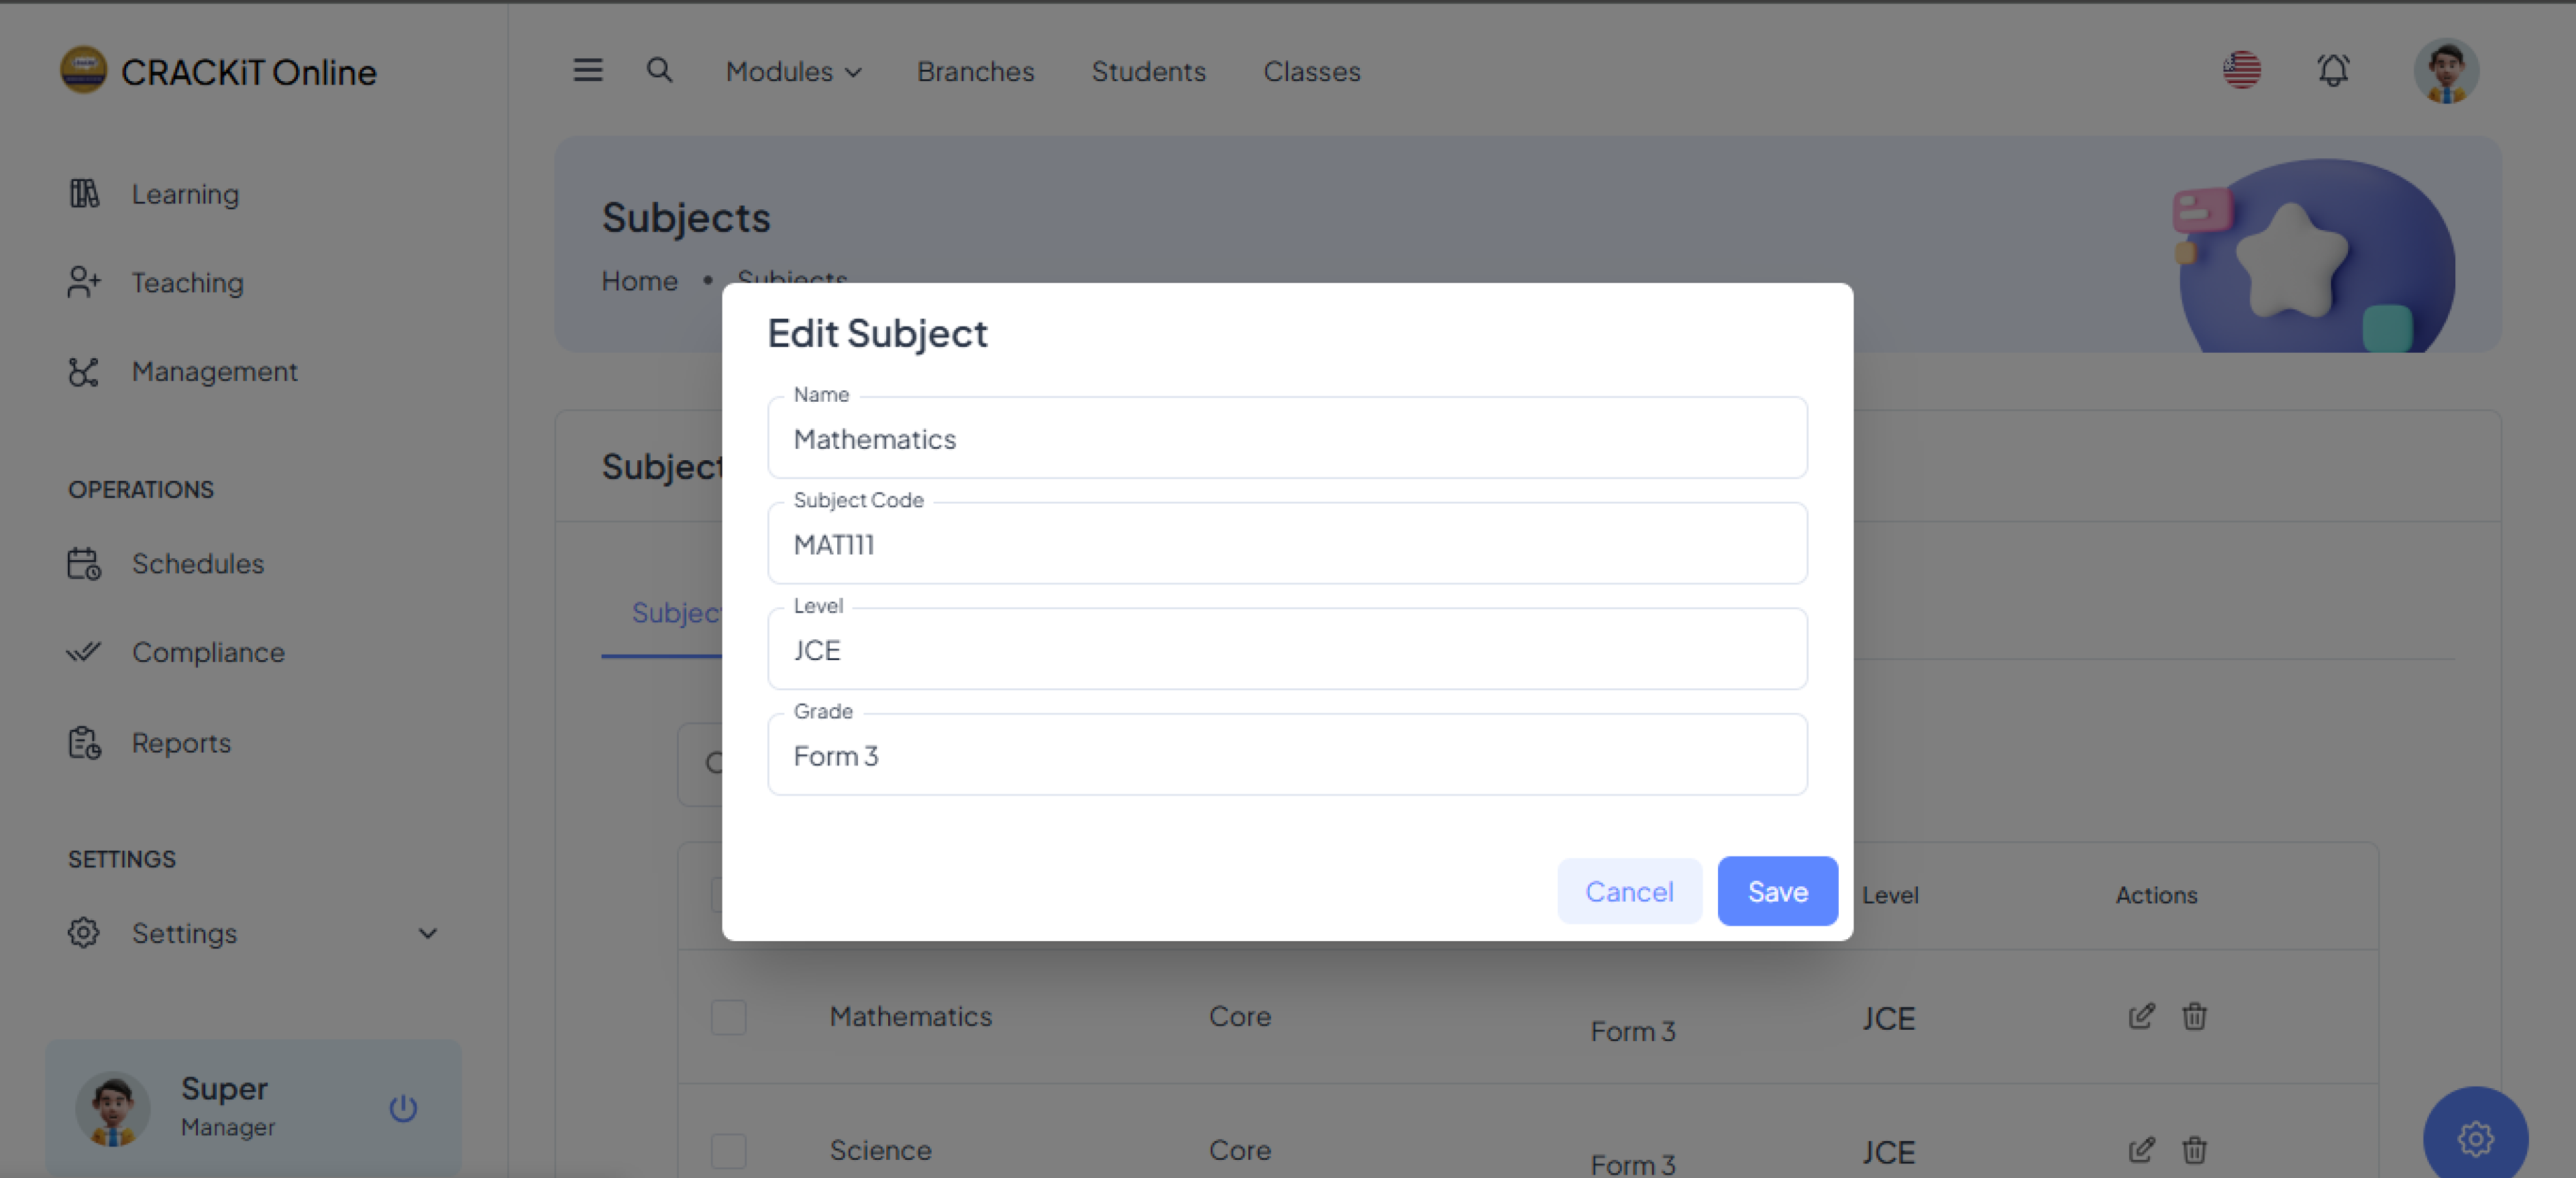
After making the necessary changes, the user must click the Save button to update the subject information.
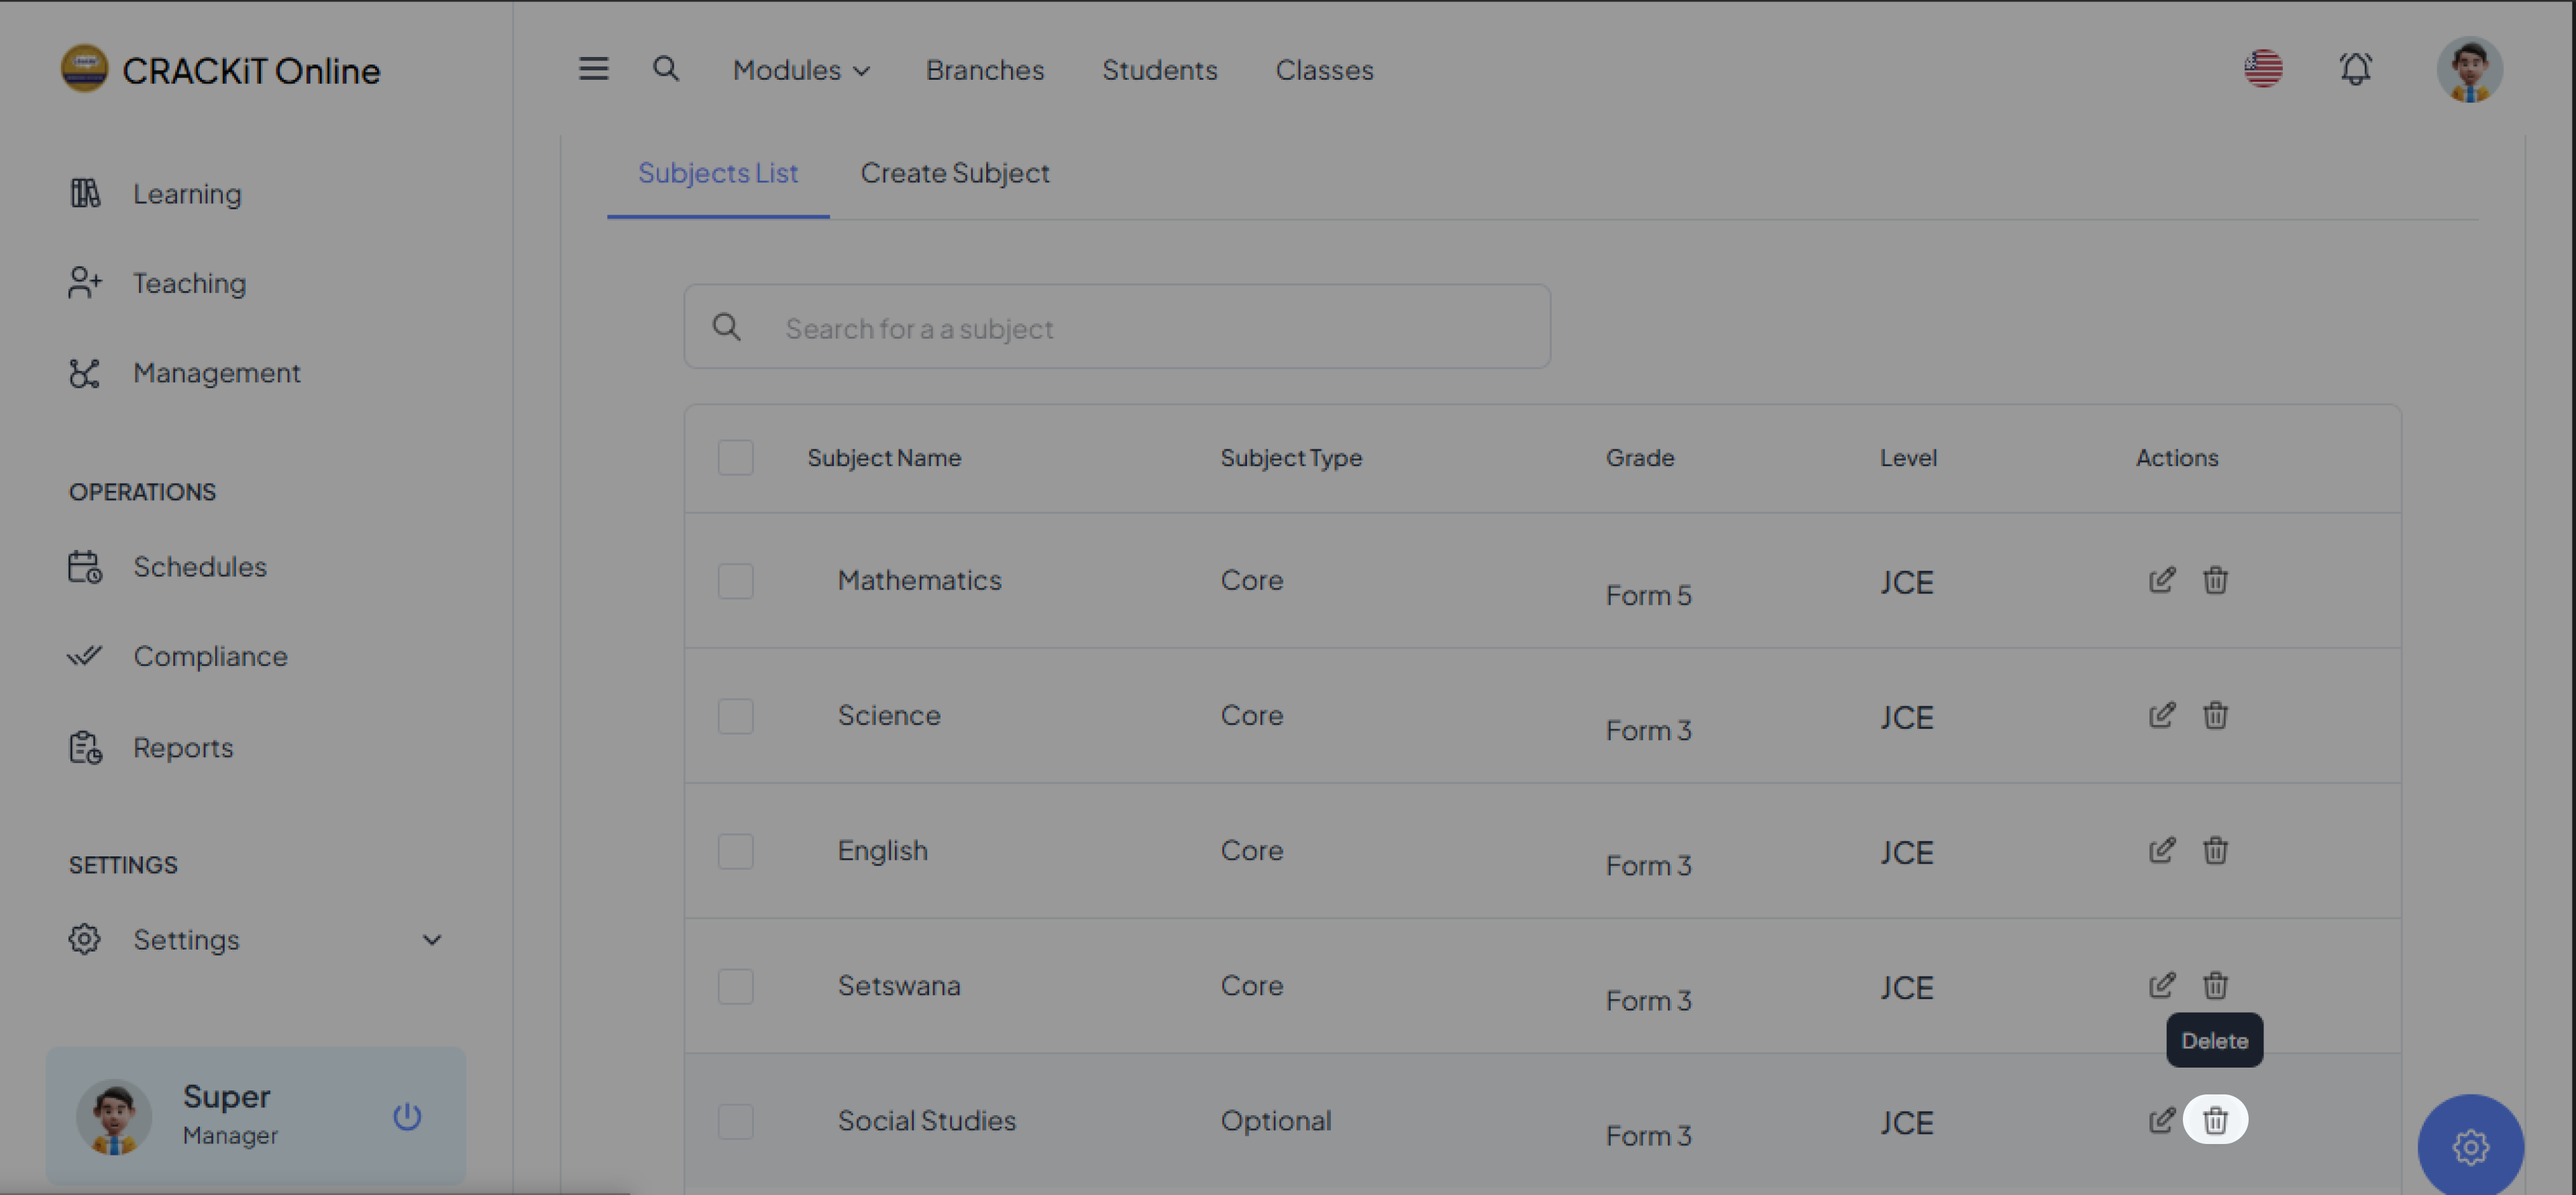
Deleting a Subject
To delete a subject, the user should locate the delete icon next to the subject they wish to remove and click on it.
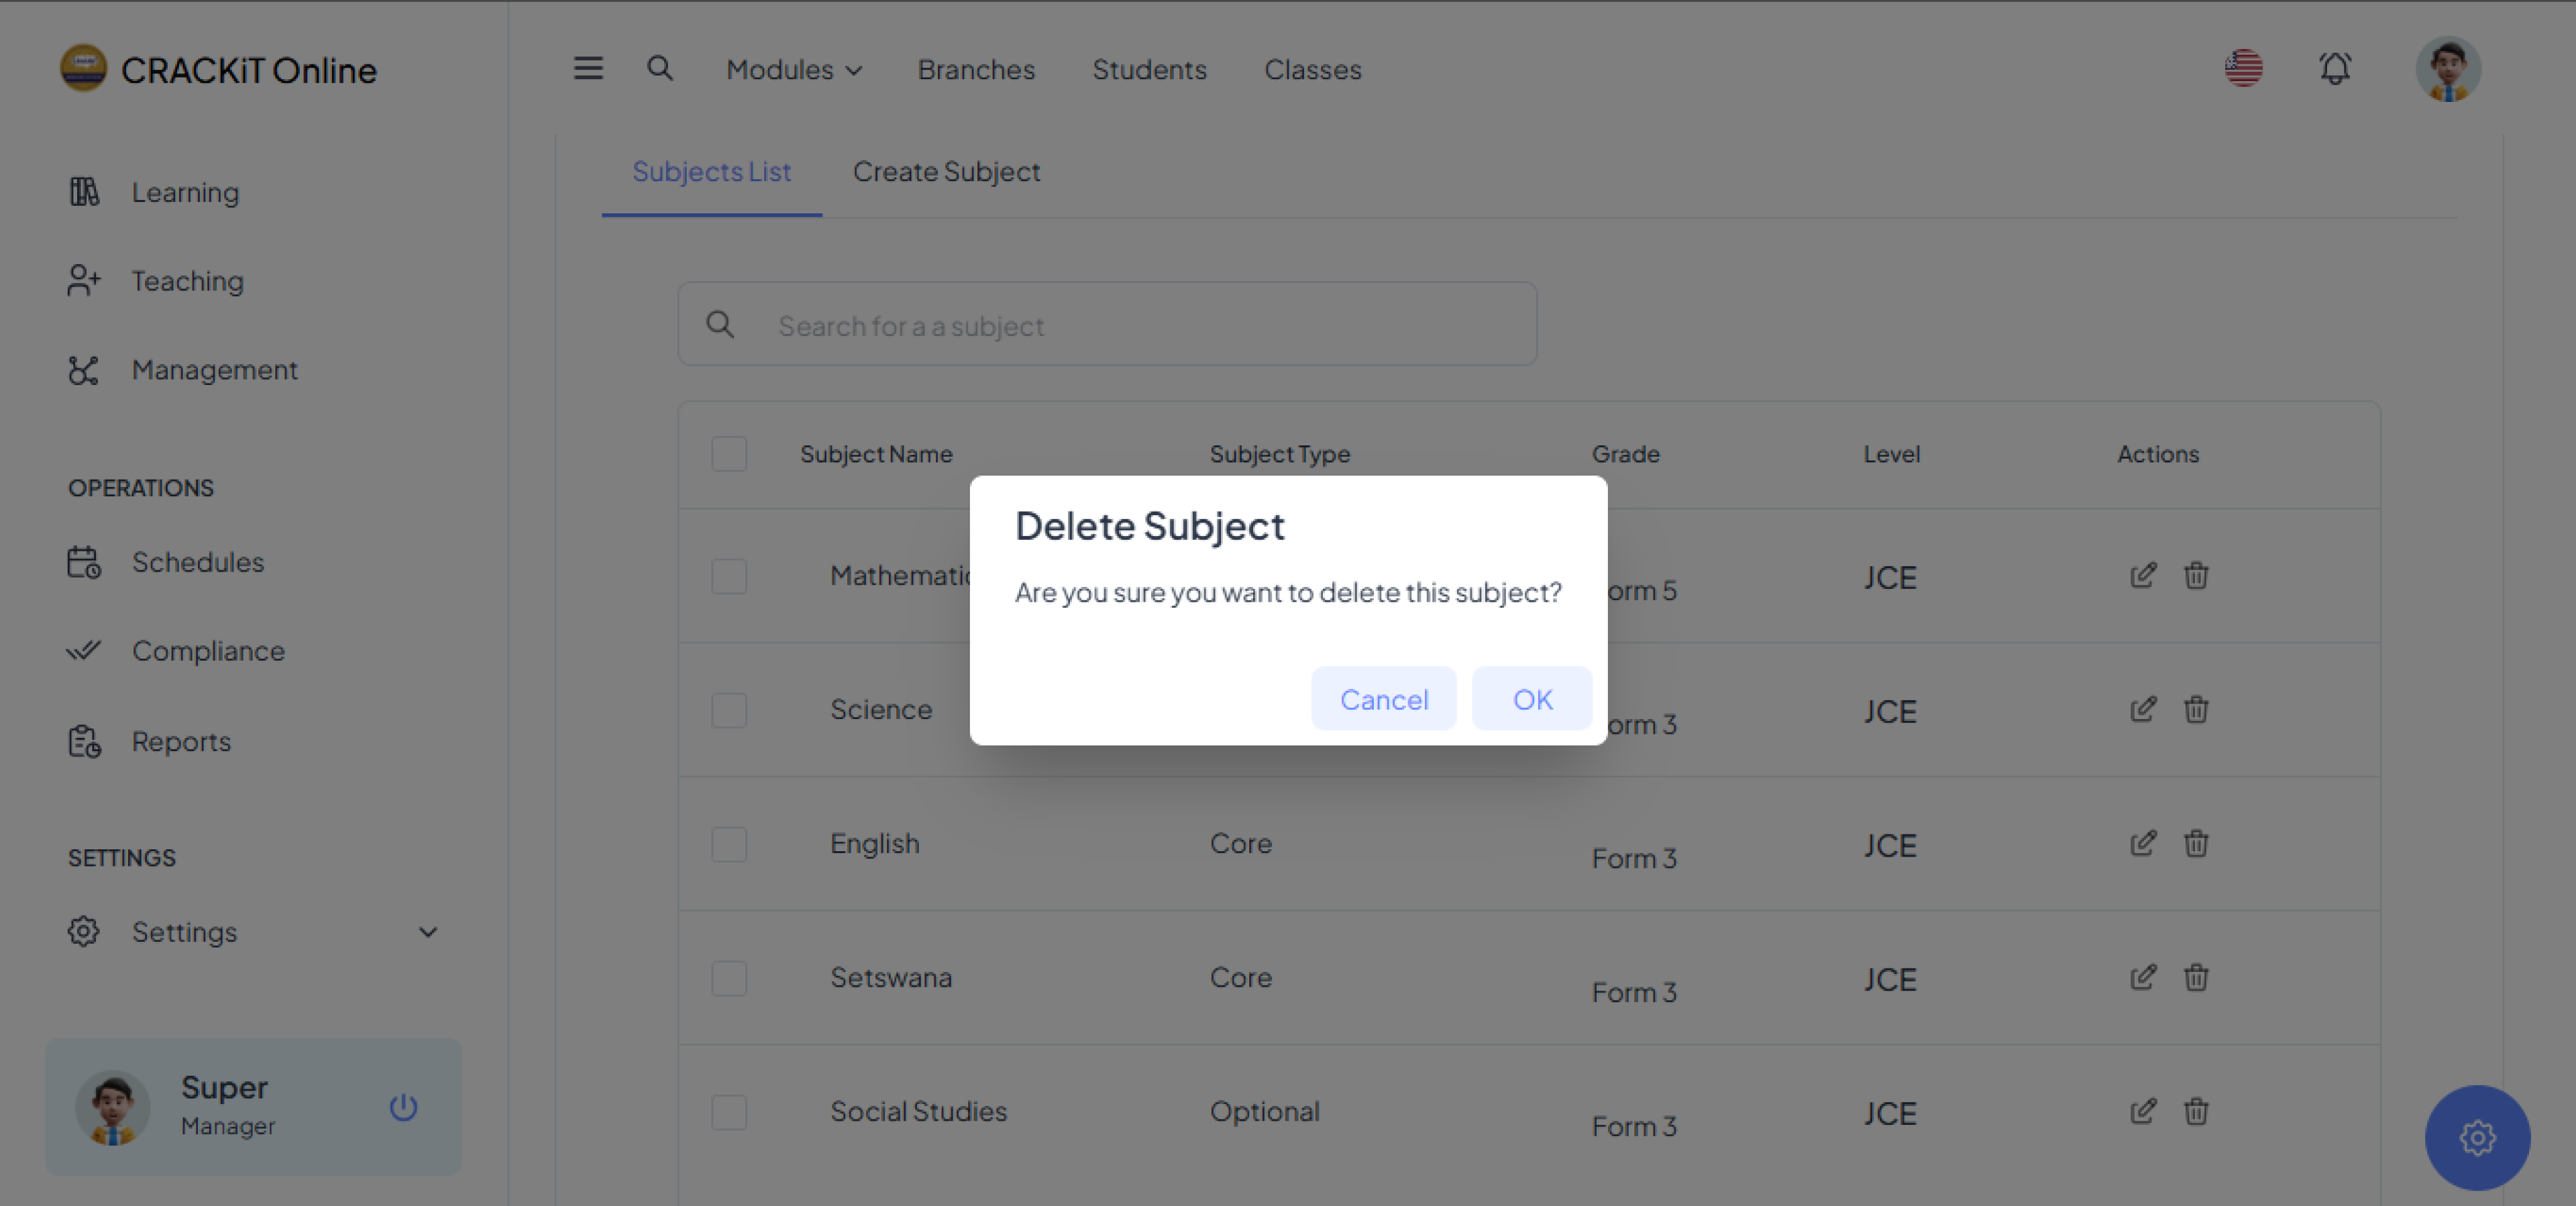
The user will then need to confirm the deletion by clicking the OK button in the confirmation dialog. A pop-up message will appear to indicate the successful deletion of the subject. The user must click OK to close the message.
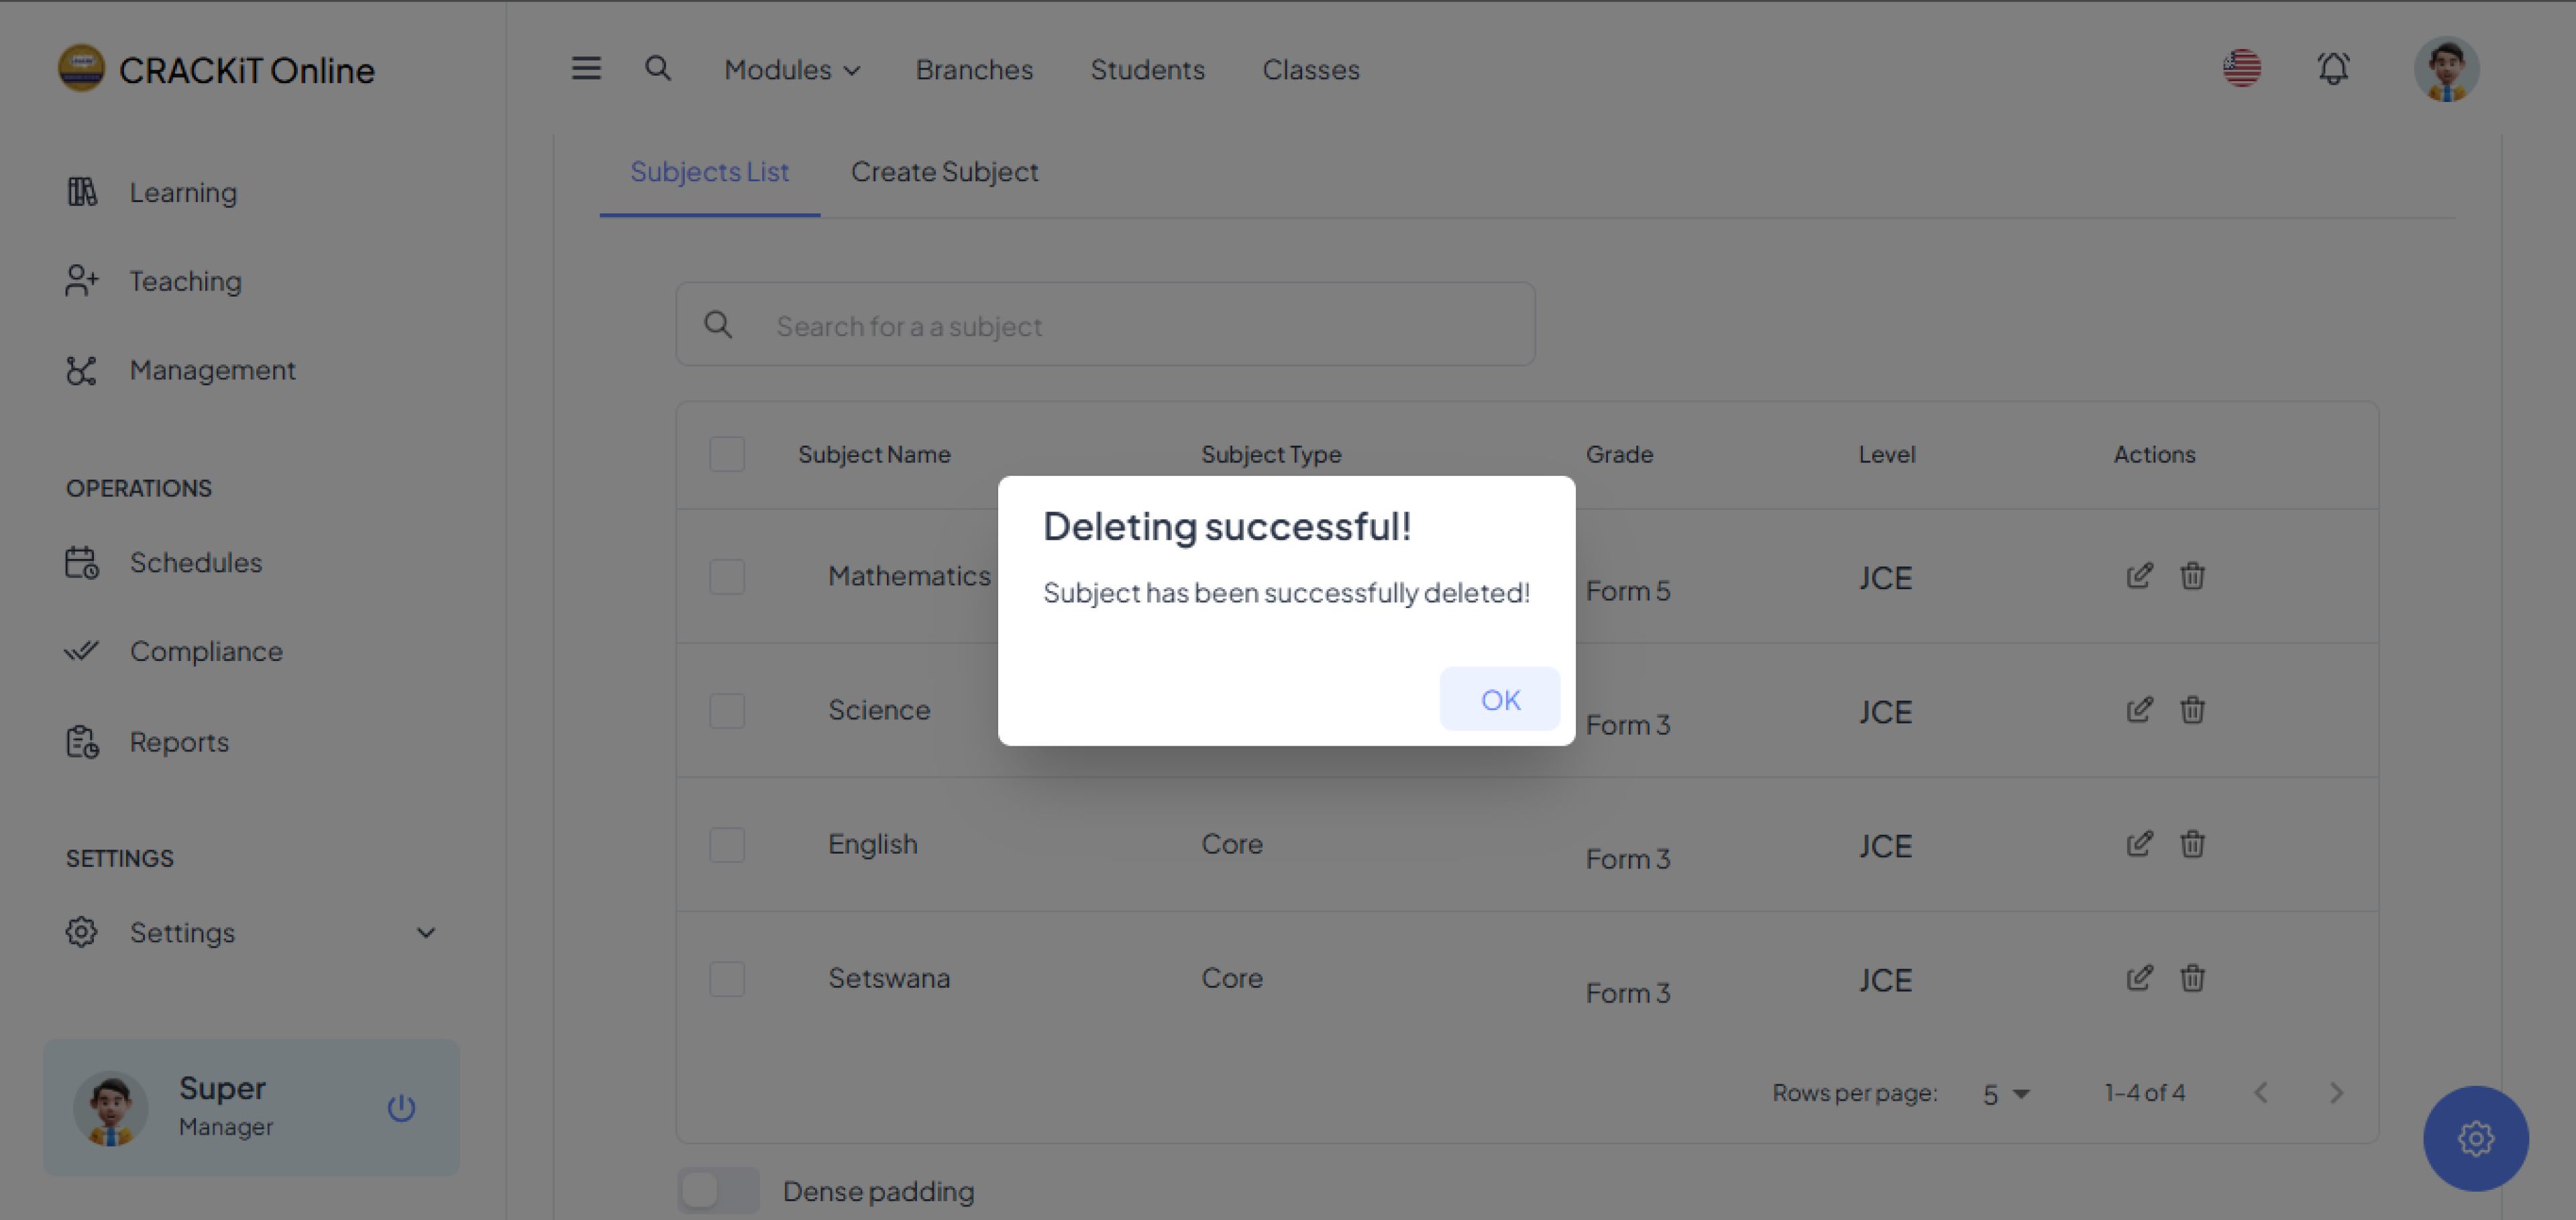
Finally, the user can review the updated list to verify that the subject has been removed, as shown below.